
In this article I am going to describe how to use .NET for Apache Spark with EntityFrameworkCore to stream data to a Microsoft SQL Server. If you have tried this before, you probably stumbled upon the following exception: Microsoft.Data.SqlClient is not supported on this platform.
So let’s find out, how that can be fixed.
Preparation
If you want to stream to an SQL Server, you obviously need to have access to an SQL Server instance first.
Using docker, it is very easy to fire up a related container. I’ve just named it sqlserver, as shown below.
docker run --name sqlserver -e 'ACCEPT_EULA=Y' -e 'SA_PASSWORD=L3t.M3.1n' -p 1433:1433 -d mcr.microsoft.com/mssql/server:2019-latest
After launching the containers’ interactive terminal via
docker exec -it sqlserver /bin/bash
I use the command line client sqlcmd, to connect to the SQL Server instance using the password that I specified in the docker command.
/opt/mssql-tools/bin/sqlcmd -S localhost -U sa -P L3t.M3.1n
First, let’s create a new database named testdb.
CREATE DATABASE testdb
GO
After switching the context to testdb, I also create a new table mytable.
USE testdb
GO

CREATE TABLE mytable (myid INT, mystring VARCHAR(50))
GO
Following best practices, I won’t use the sysadmin user to access test database. Instead I will create a separate user (testuser_rw) with permissions to read/write from/to the database.
CREATE LOGIN [testuser_rw] WITH PASSWORD='TestM30ut', DEFAULT_DATABASE=[testdb]
GO
CREATE USER [testuser_rw] FOR LOGIN [testuser_rw] WITH DEFAULT_SCHEMA=[dbo]
GO
ALTER ROLE [db_datareader] ADD MEMBER [testuser_rw]
GO
ALTER ROLE [db_datawriter] ADD MEMBER [testuser_rw]
GO
Finally, let’s verify that the required roles are correctly assigned.
:setvar SQLCMDMAXFIXEDTYPEWIDTH 32
:setvar SQLCMDMAXVARTYPEWIDTH 32

SELECT p1.name [user] , p2.name [role]
  FROM sys.database_role_members rm
  JOIN sys.database_principals p1 ON rm.member_principal_id = p1.principal_id
  JOIN sys.database_principals p2 ON rm.role_principal_id = p2.principal_id
  WHERE p1.name in ('testuser_rw', 'dbo')

GO
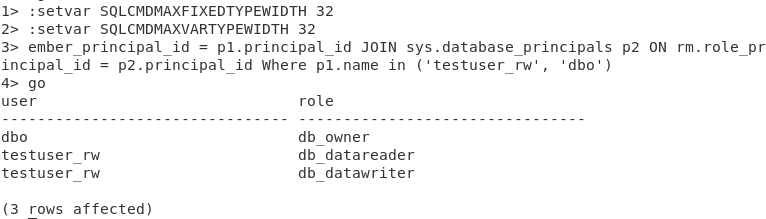
Excellent, our test database is now prepared.
HelloForeachWriter
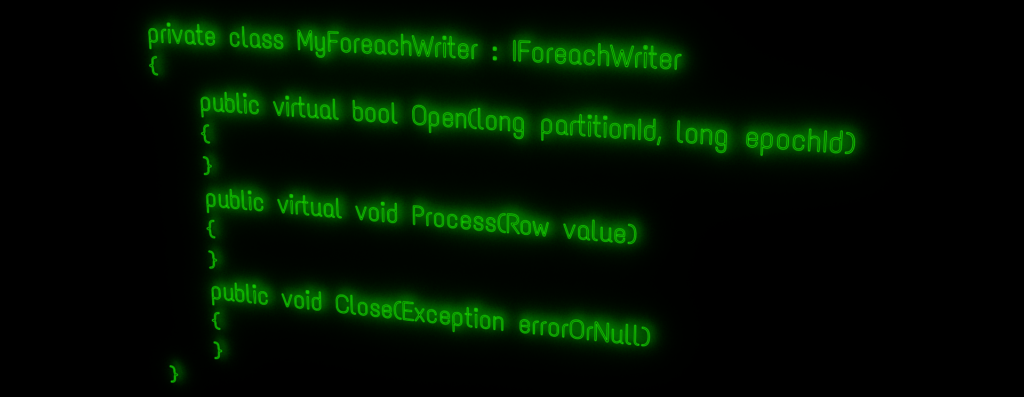
If you followed my post about using the ForeachWriter to stream data to PostgreSQL using EntityFrameworkCore, you could think that doing the same for SQL Server might just require some minor tweaks. Unfortunately, at least for now, it isn’t that straight forward.
I am not going through all the code again, but just describe what it takes to get it work with MSSQL.
There are actually just two things that need to be changed in the example project:
- Add the SqlServer provider package
- Adjust the MyContext class to work with the new provider
Add the provider package
To add the SqlServer provider package for EntityFrameworkCore, just run the following command at the root folder of the example project.
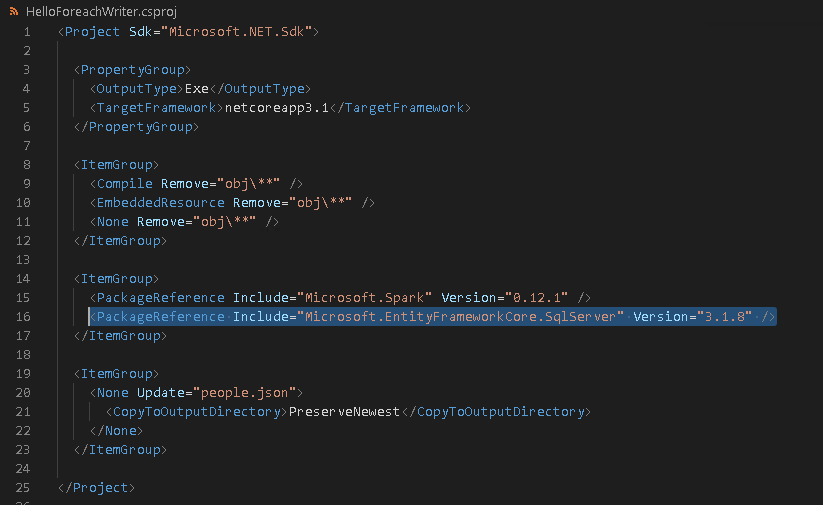
dotnet add package Microsoft.EntityFrameworkCore.SqlServer --version 3.1.8
HelloForeachWriter.csproj should now contain a related PackageReference:
Adjust MyContext.cs
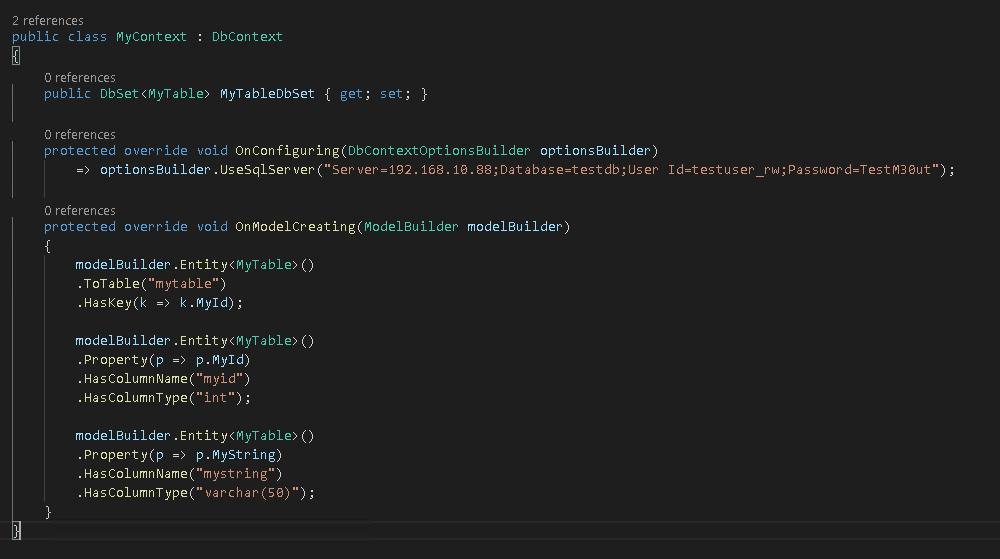
There are two places in MyContext.cs that need to be adjusted. Obviously we now need to change the connection options to use SqlServer and also modify the connection string accordingly, as shown below.
protected override void OnConfiguring(DbContextOptionsBuilder optionsBuilder)
            => optionsBuilder.UseSqlServer("Server=192.168.10.88;Database=testdb;User Id=testuser_rw;Password=TestM30ut");
Additionally we need to adjust the type of the “mystring” column.
modelBuilder.Entity<MyTable>()
            .Property(p => p.MyString)
            .HasColumnName("mystring")
            .HasColumnType("varchar(50)");
Here is a screenshot of the updated MyContext class.
The Problem
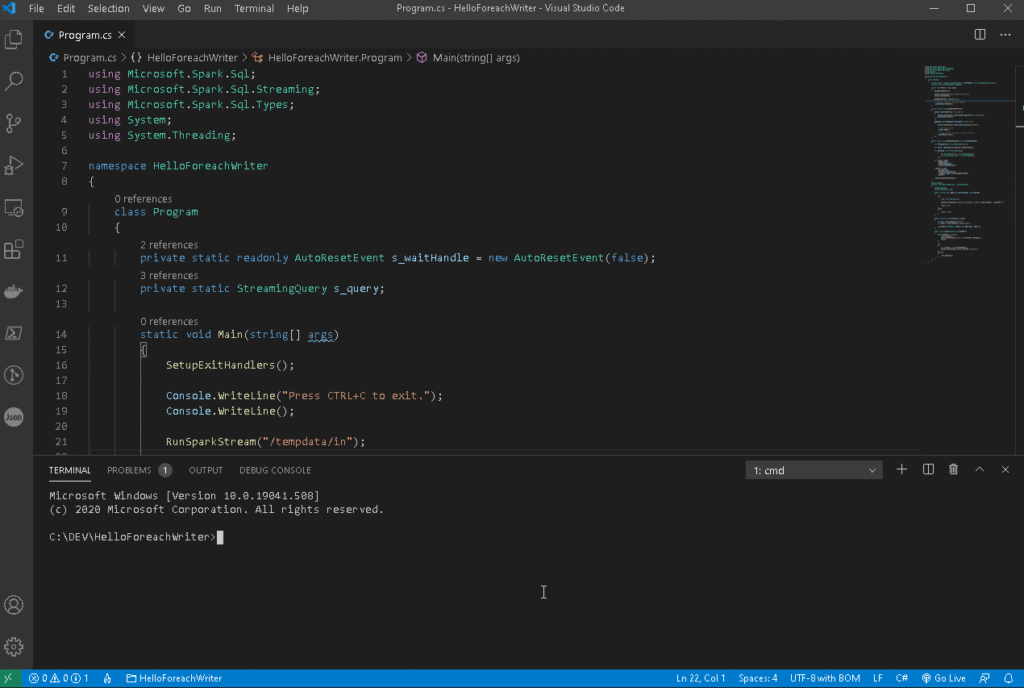
It’s time to run HelloForeachWriter in debug mode for the first time now.
Therefore, I first build the project and then change into the related debug directory in order to submit it to spark via:
spark-submit --class org.apache.spark.deploy.dotnet.DotnetRunner --master local microsoft-spark-2.4.x-0.12.1.jar debug
After that, I can start the application in debug mode.
Stream to SQL Server – First Try
Unfortunately that did not work as expected and I got the following exceptions instead:
System.PlatformNotSupportedException: Microsoft.Data.SqlClient is not supported on this platform.
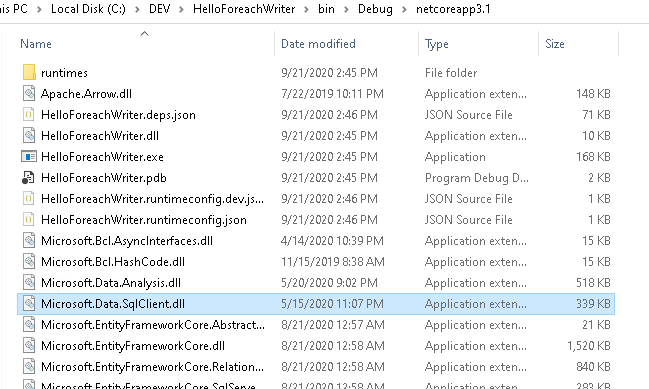
This may be confusing, as there actually is a Microsoft.Data.SqlClient DLL in the directory, along with a related runtime sub-directory.
So the problem seems to be, that there are different versions of the Microsoft.Data.SqlClient DLL, depending on the runtime platform, but Microsoft.Spark.Worker cannot figure out which one to use.
For in-depth information feel free to dig into the Microsoft SqlClient Data Provider for SQL Server repository on GitHub.
A Solution
In theory, there’s actually a quite simple solution for this. I just need to add Microsoft.Data.SqlClient as a dependency to Microsoft.Spark.Worker as well.
I could do this by manually adding the dependencies to Microsoft.Spark.Worker.deps.json and copying the related DLL(s) into the Microsoft.Spark.Worker folder. However, it feels more consistent to me, to just rebuild the worker with Microsoft.Data.SqlClient package added.
Rebuilding Microsoft.Spark.Worker
So let’s get our feet wet and clone the dotnet-spark GitHub repository using
git clone https://github.com/dotnet/spark.git
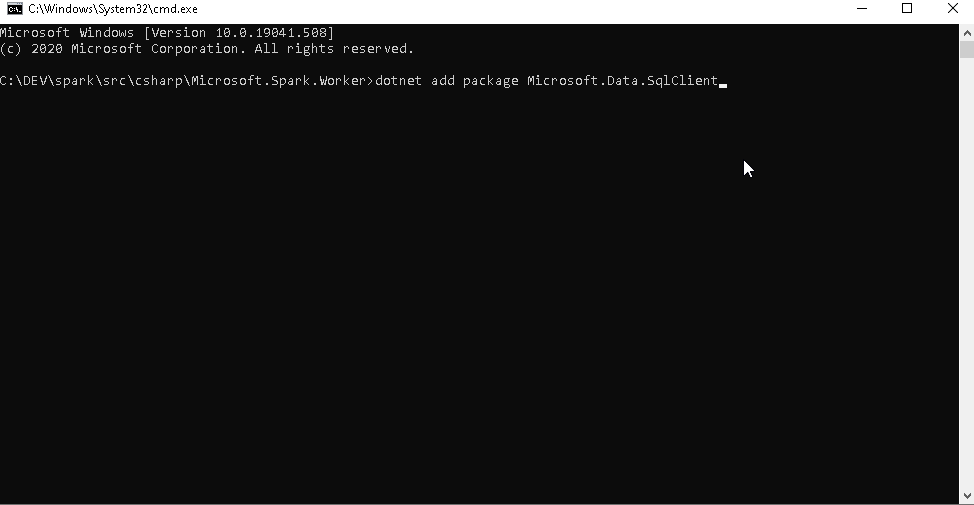
Next, change into the spark repository directory, navigate to src\csharp\Microsoft.Spark.Worker and add the package.
dotnet add package Microsoft.Data.SqlClient
Depending on your target platform, publish the Microsoft.Spark.Worker. E.g. for 64-bit Windows use:
dotnet publish -f netcoreapp3.1 -r win-x64
And for 64-bit Linux:
dotnet publish -f netcoreapp3.1 -r linux-x64
A more detailed description of the build process for .NET for Apache Spark is available here.
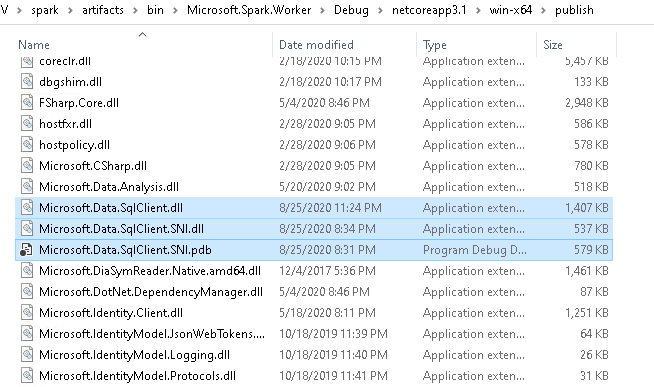
Once published, the resulting files are available within the artifacts sub-folder of the repository. For win-x64 for example, this would be:
artifacts\bin\Microsoft.Spark.Worker\Debug\netcoreapp3.1\win-x64\publish
And as you can see from the screenshot below, the Microsoft.Data.SqlClient DLL(s) are now included as well.
For Linux, this looks slightly different however.
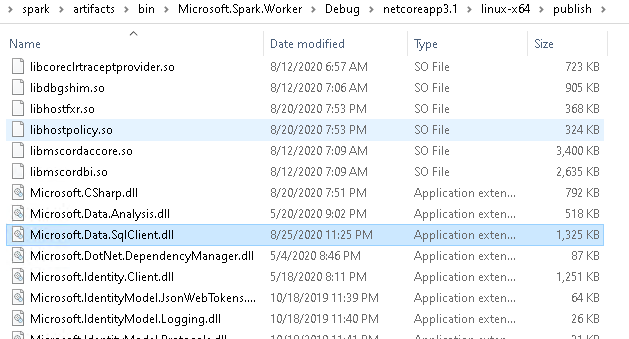
There’s no Microsoft.Data.SqlClient.SNI.dll in this case.
As a last step, I need to ensure that I either point the DOTNET_WORKER_DIR environment variable to this new directory, or just copy all the files into the directory that is currently referenced by DOTNET_WORKER_DIR.
Stream to SQL Server – Next try
Now it’s time to run the whole process again.
Marvelous! This time we didn’t get any exception.
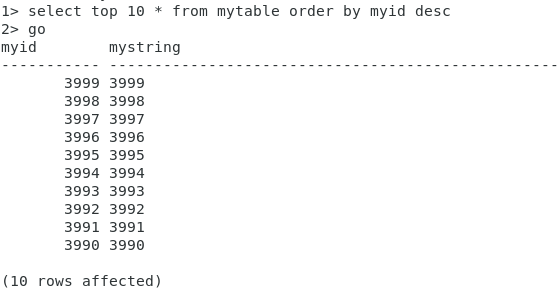
And the data arrived at the database!
Conclusion
As demonstrated, it isn’t that hard to get .NET for Apache Spark working with EntityFrameworkCore to stream to SQL Server, thanks to .NET for Apache Spark being Open Source.
I am not sure whether the Microsoft.Data.SqlClient package will be added by default, or if there will be any better ways to address this, in the future. That’s why I’ve decided, at least for now, to provide a special version of my dotnet-spark docker image with the package pre-installed: 3rdman/dotnet-spark:0.12.1-spark-2.4.6-linux-sqlclient
Thanks for reading!
6. October 2020
[…] My last article explained how you can use .NET for Apache Spark together with Entity Framework to stream data to an SQL Server. There was one caveat though. You had to build Microsoft.Spark.Worker yourself.This time I’ll show you how you can build .NET for Apache Spark with VS Code in a browser yourself, including building and running the C# examples. […]