Recently, I published a small example project to utilize the htm.core AI algorithm by consuming its REST API via C#. As the API also transfers serialized multi-dimensional NumPy arrays, I was looking for an easy way to get them back into C# objects. I’ve tried out a couple of approaches and finally decided on using the NumSharp library, as I wanted a solution that works on multiple platforms.
I find DataCamps’ Data Science Cheat Sheets very useful and was hoping to find something similar for NumSharp. Well, I didn’t, but obviously that gave me a good reason to just compile one myself.
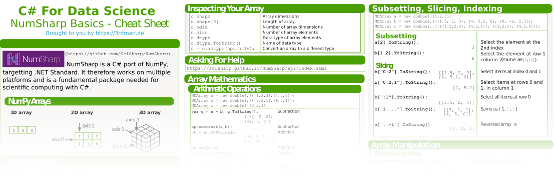
So using the original DataCamps’ NumPy Cheat Sheet as foundation, let me introduce the freshly created NumSharp Cheat Sheet:
As you will notice, some stuff from the original cheat sheet is missing. That’s mainly because not all NumPy functionality has been ported yet. However, if I missed something important, please let me know.
Interactive Notebook
Besides the NumSharp Cheat Sheet itself, I also created a dotnet interactive notebook, which allows you to play around with NumSharp directly in your web-browser. Just click on the binder launch icon below to start it up (might take some time, so please be patient).
Notebook notes
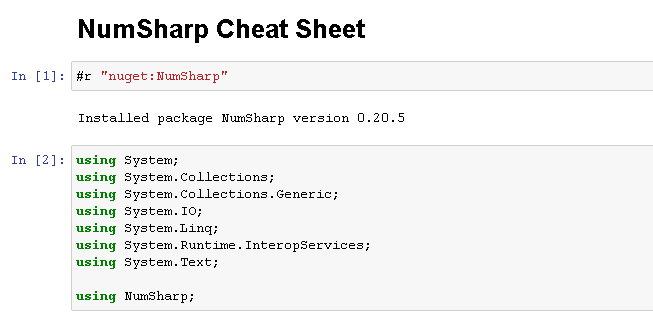
Before you play around with the notebook, please ensure that you always run the top two cells first.

The first cell installs the NumSharp package via NuGet, and the second one makes is available to the other cells.
Output Format
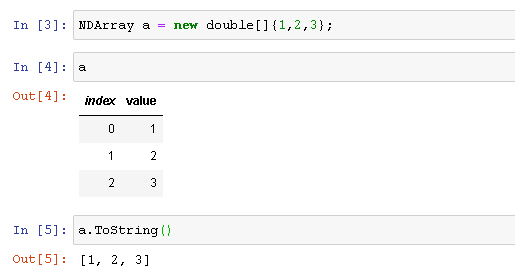
Using the interactive C# notebook, NDArray variables are printed in a tabular, pandas like format, per default.

To mimic the output format of the NumPy Cheat Sheet, just use the ToString() method, as shown above.
Workarounds
As mentioned earlier, some functionality of NumPy is not ported to NumSharp. The jupyter notebook shows a possible workaround for the element-wise comparison with the < and > operators, for example.
If you are aware of workarounds for any of the other missing functions/methods, please feel free to contribute to the NumSharp Cheat Sheet interactive notebook GitHub project.
That’s it again for now. Have a great time and happy coding!

