

Just recently I needed to explore how I could get IBM Informix and EntitiyFrameworkCore to work together with an existing database, and therefore decided to document my findings in this simple step-by-step walk-through.
Prerequisites
As mentioned here, the IBM® Data Server Provider for .NET IBM DB2® provider option is now the preferred Informix® provider for developing new applications.
Looking at the related site for the IBM Data Server Provider for .NET, it actually states that the former Informix specific provider (IBM.Data.Informix) is now deprecated.

Although this statement actually applies to the provider for .NET, it is true for .NET Core as well. A quick look at Microsoft’s’ site of available EntityFrameworkCore providers confirms this, as it list both, Db2 and Informix, as supported database engines, for the related NuGet packages.
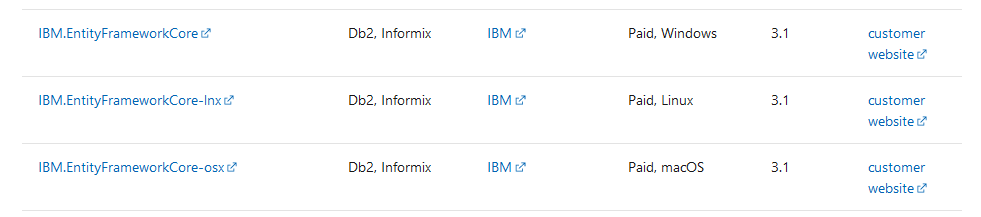
You probably also noticed, that currently you’ll have to use different NuGet packages, depending on whether you are developing on/for Windows, Linux or OSX.
Please note: The IBM Data Server providers only works with the Distributed Relational Database Architecture™ (DRDA) protocols, and you therefore need to ensure that your Informix server is configured accordingly.
Unfortunately, the DRDA protocol currently has got some limitation when it comes down to supporting some specific Informix data types for example. In case you wonder, here is a list of supported data types.
With that in mind, it’s now time to explore how Informix and EntityFrameworkCore can work together.
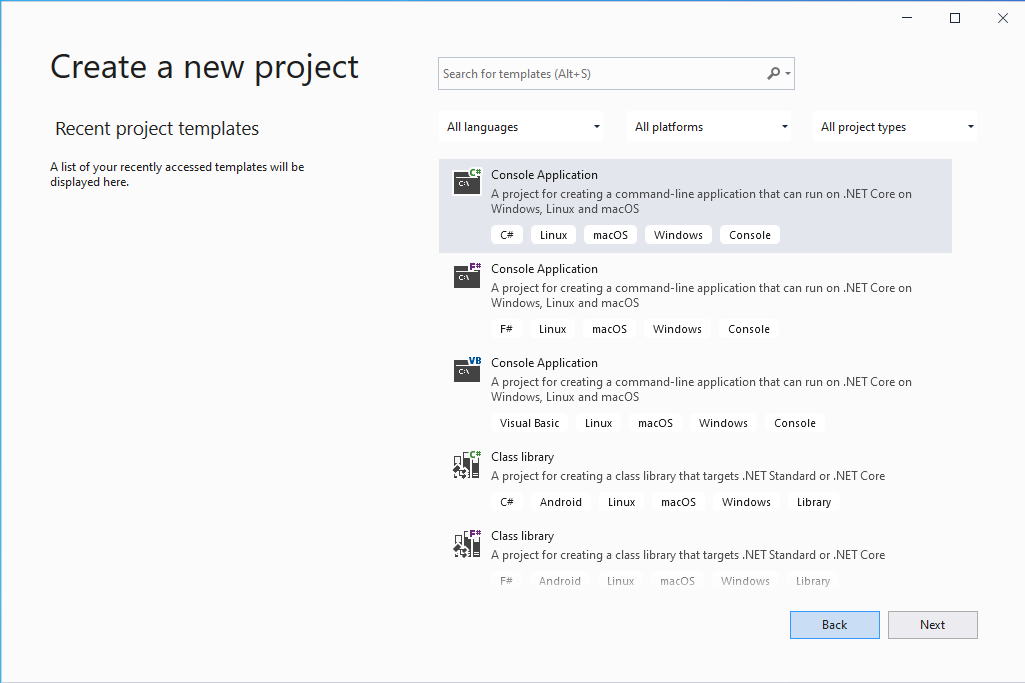
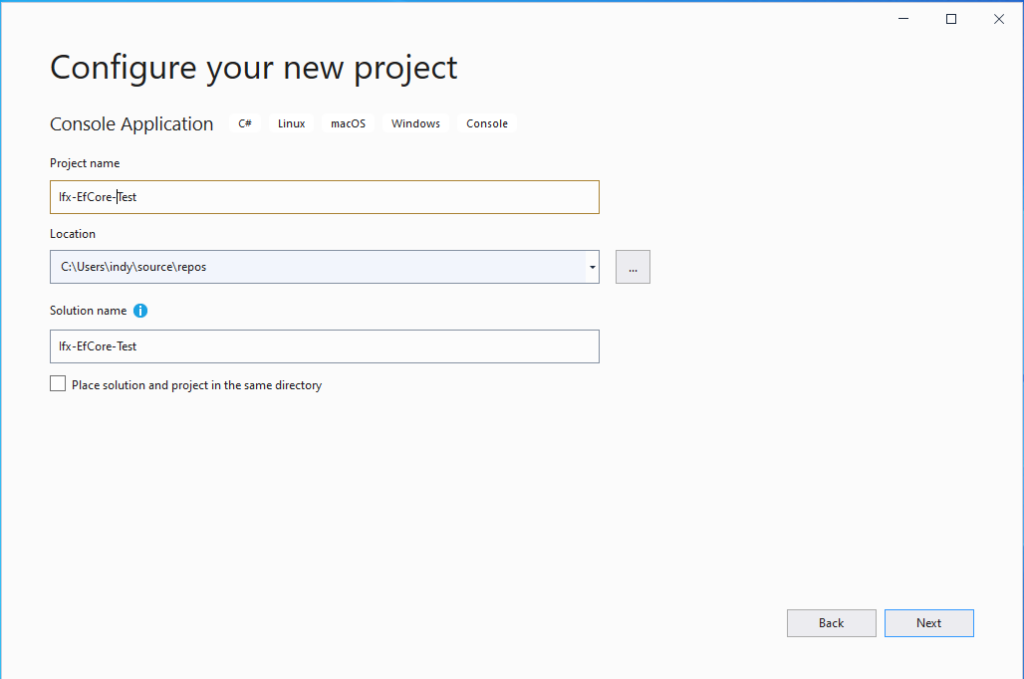
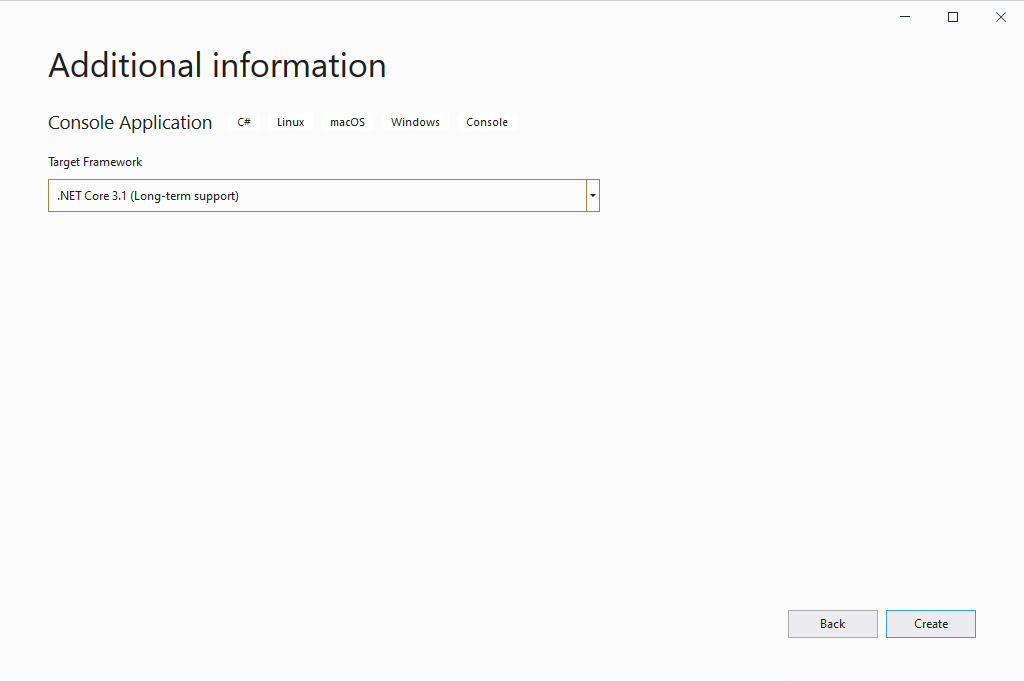
Create .NET Core console app
As you can probably guess, I am using Visual Studio 2019 on Microsoft Windows, to create this example project from the C# Console Application template.
The Solution/Project name is “Ifx-EfCore-Test”
And I decided to use the latest long-term support version of .NET Core as target framework.
Add IBM Data Server provider for EntityFrameworkCore
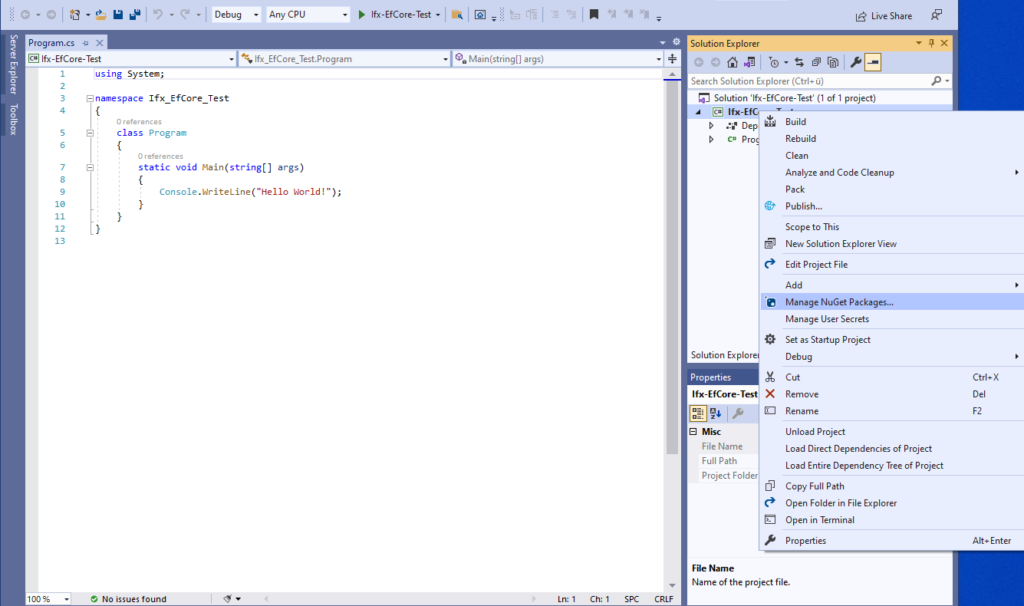
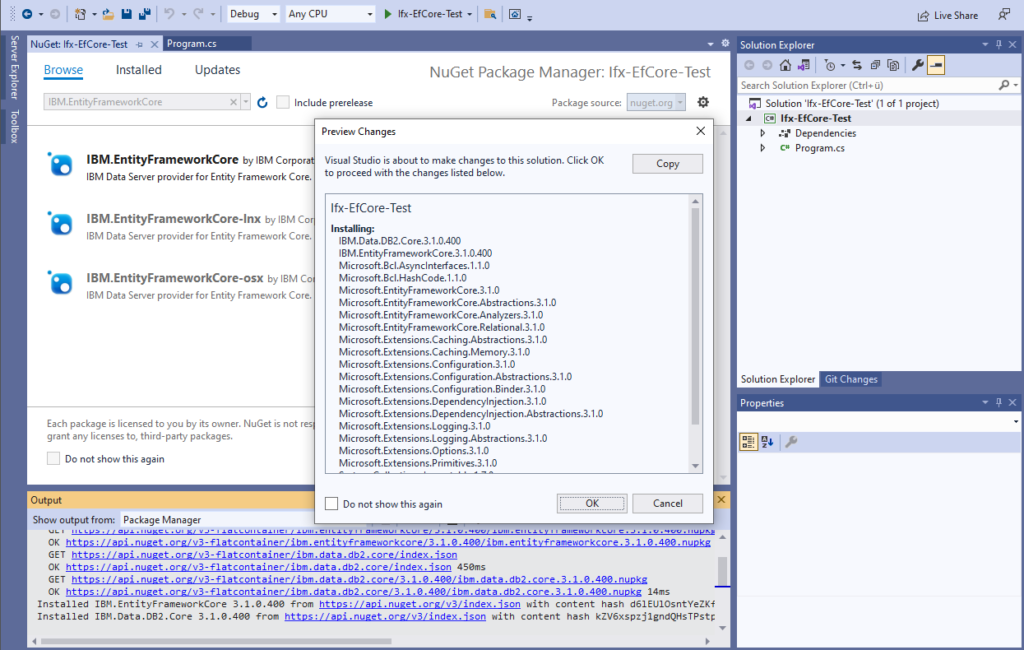
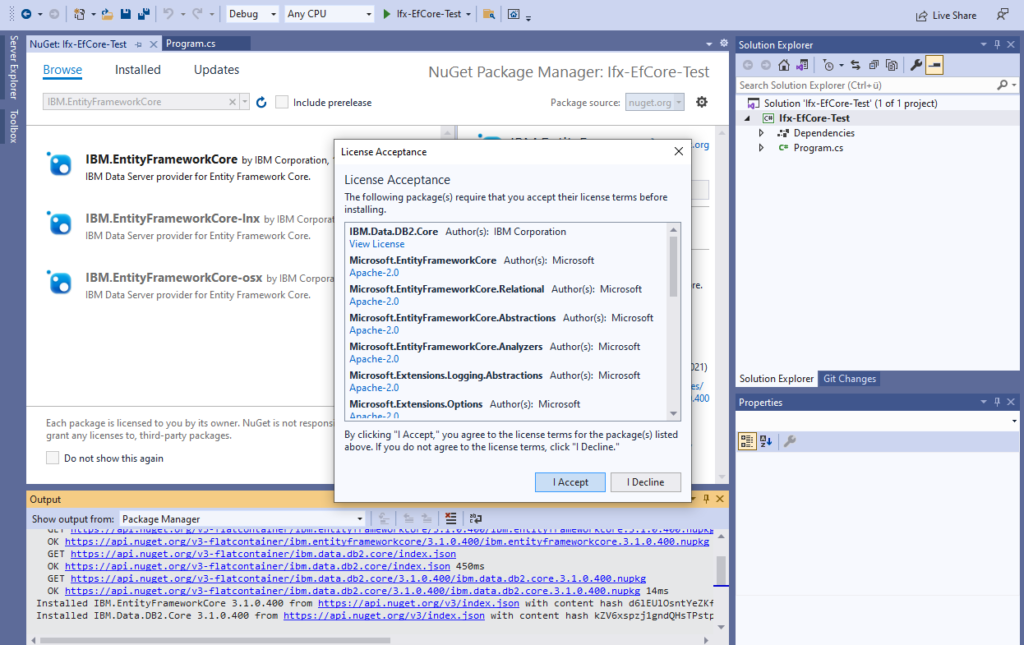
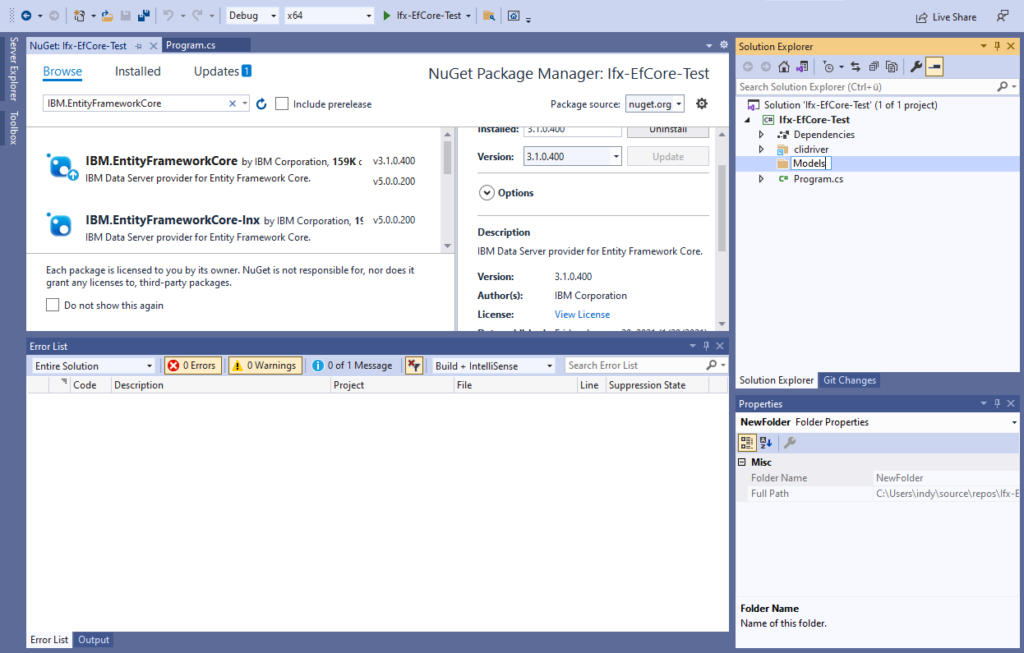
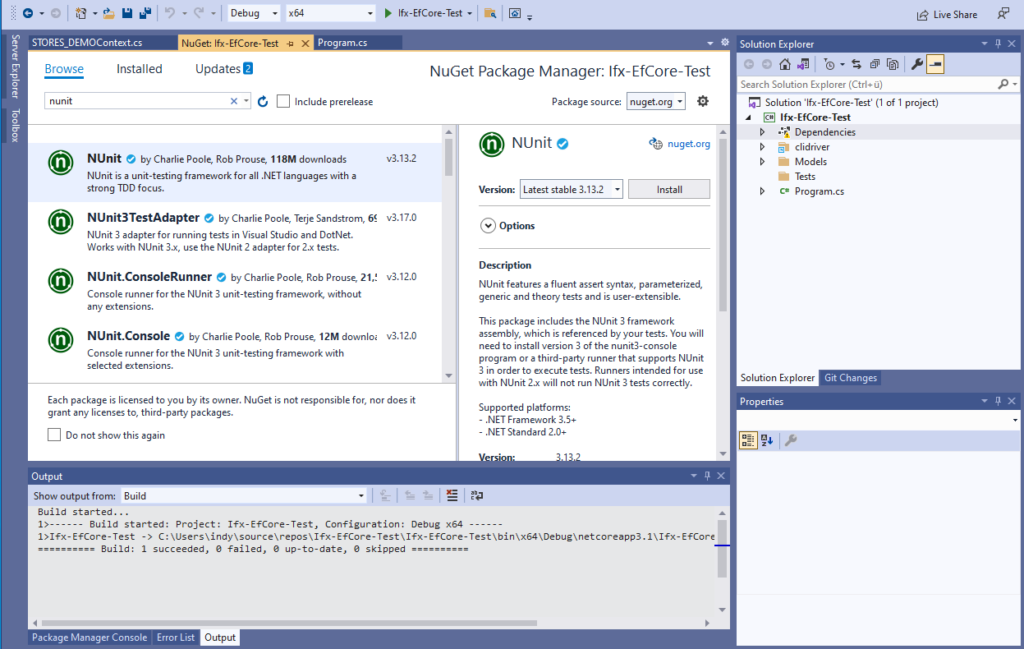
After creating the project, I add the required NuGet packages.
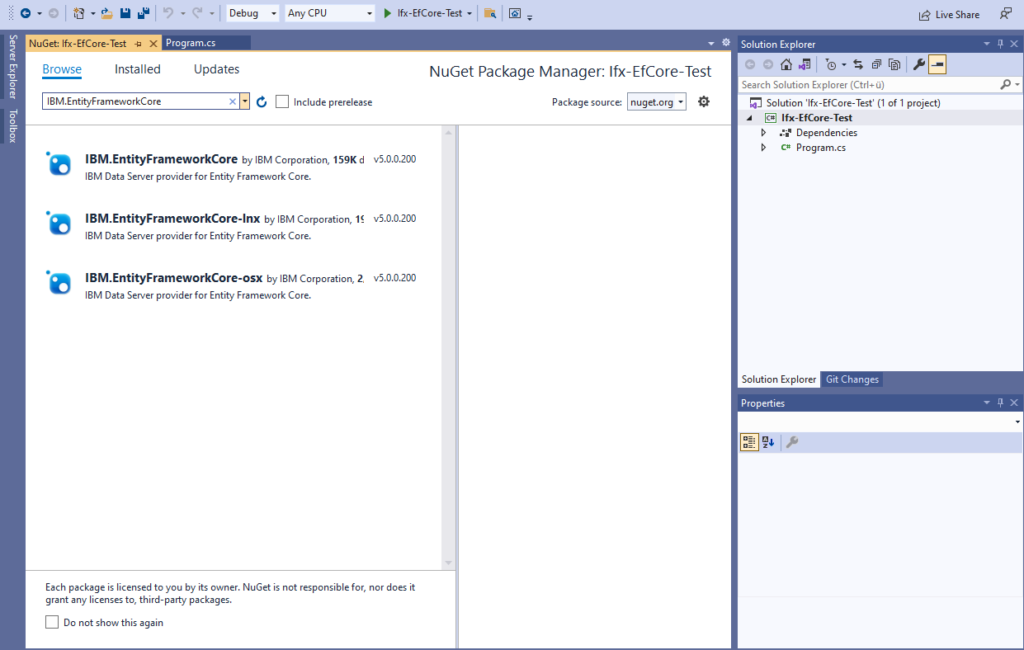
In my case, I pick IBM.EntityFrameworkCore, which includes the IBM Data Server provider needed for developing/running on Windows, along with EntityFrameworkCore itself.
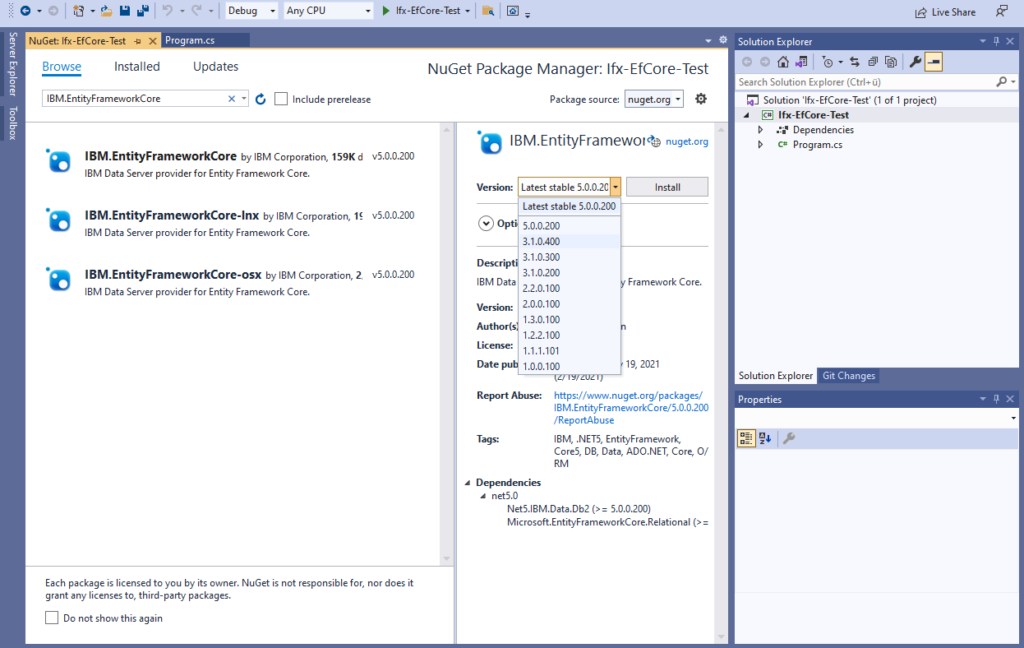
Since I’m developing for .NET Core 3.1, I also pick the related package version.
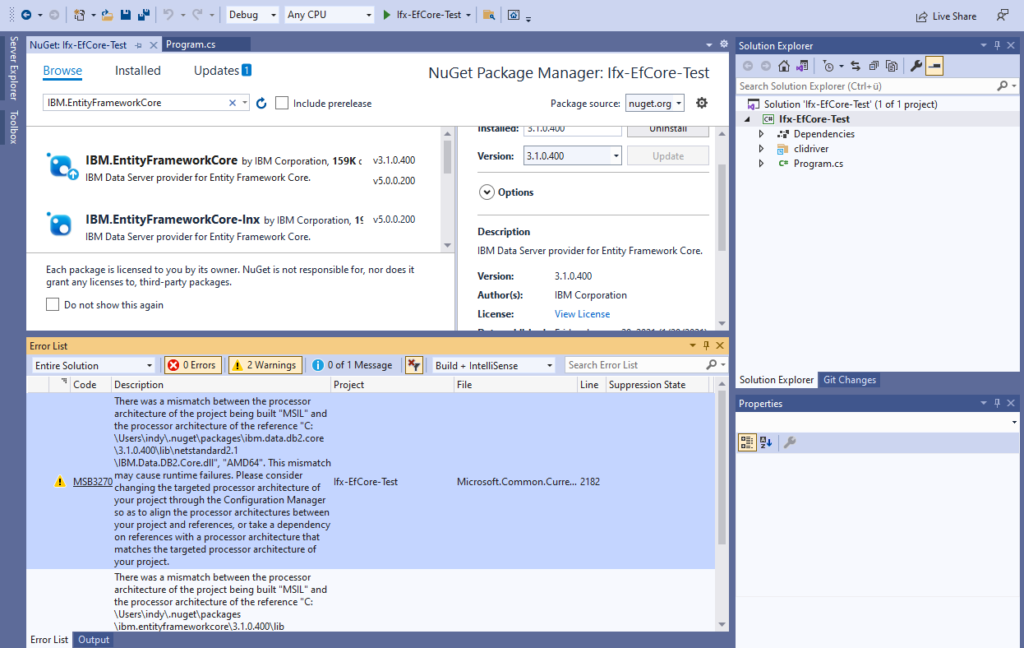
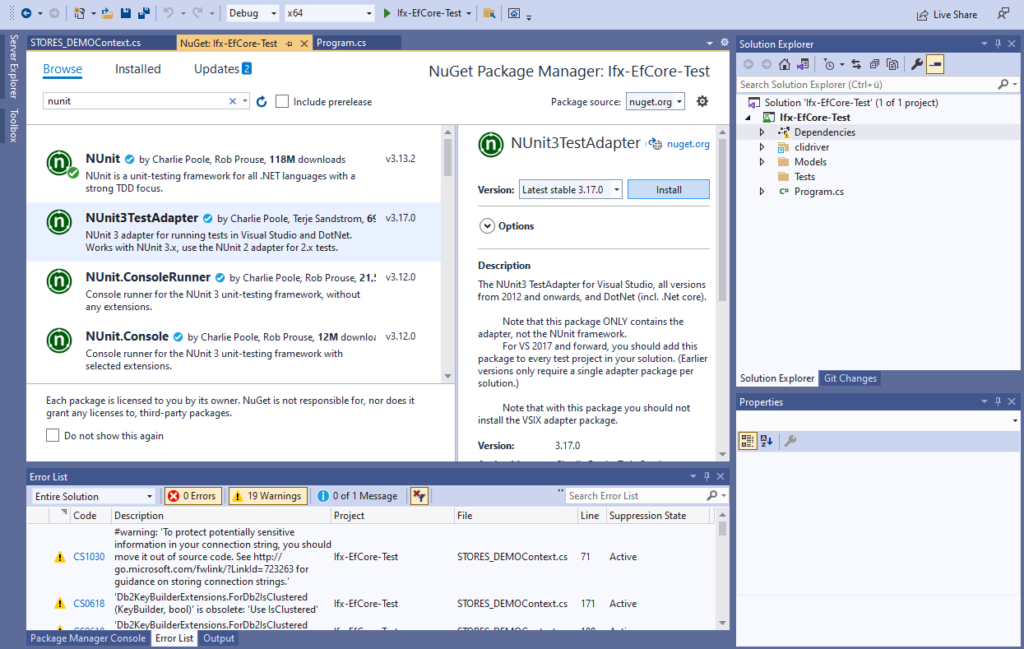
Resolve processor architecture warning
Once the package is installed, you might get a warning similar to the one shown below.
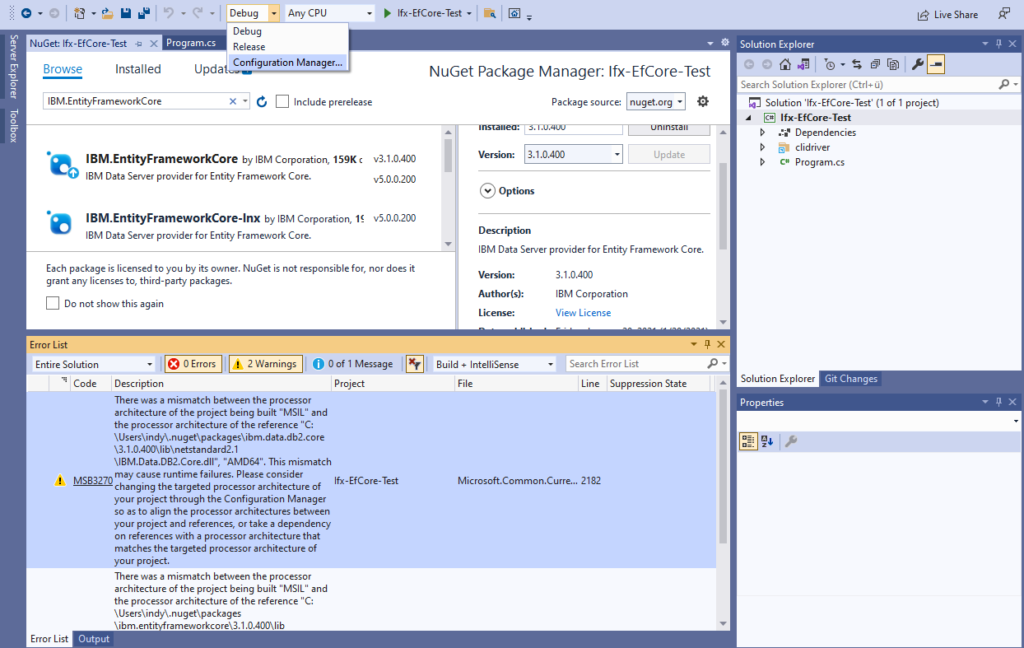
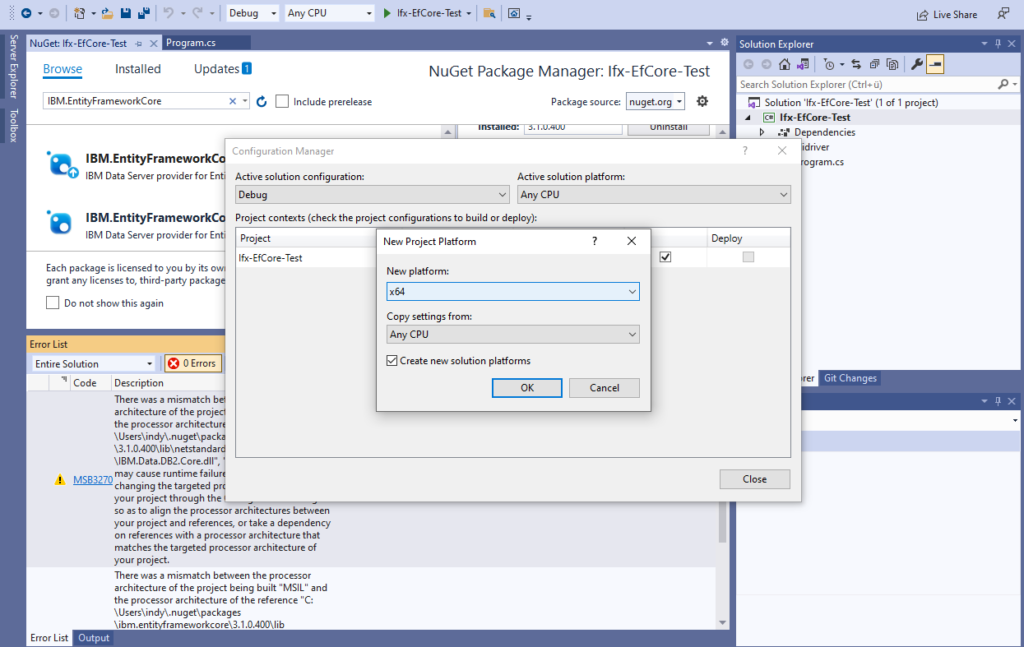
In order to resolve that, launch the Configuration Manager …
… create a new Platform …
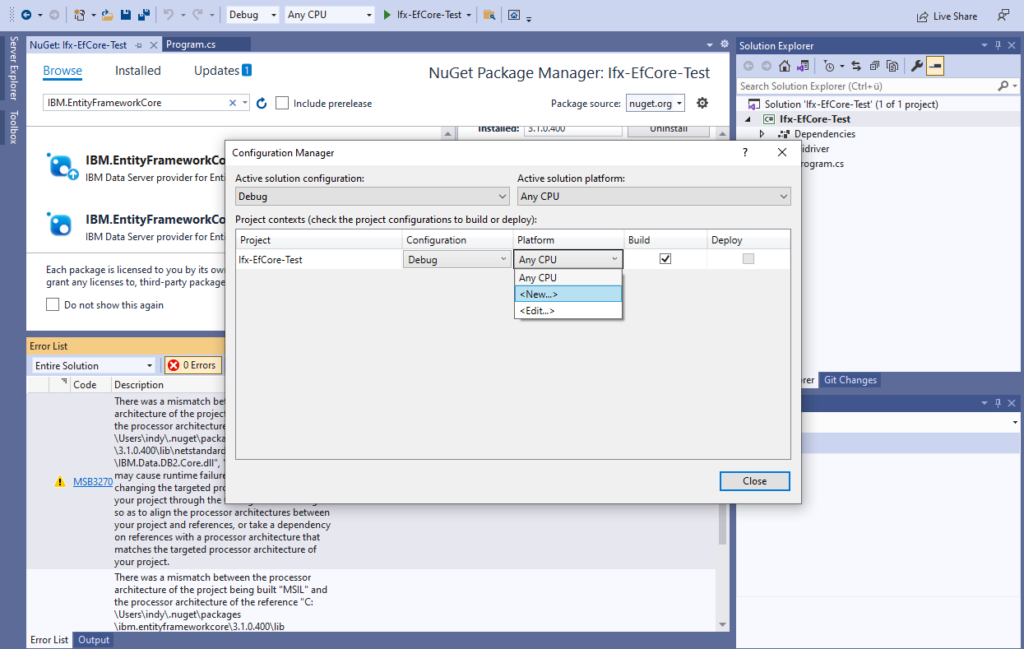
… by choosing x64 as new platform.
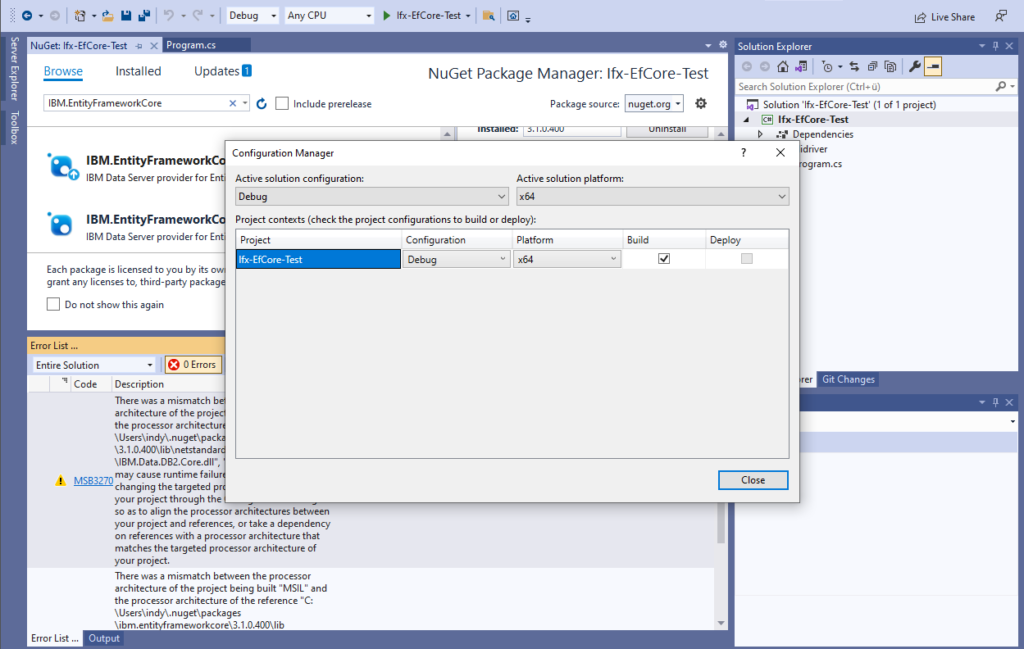
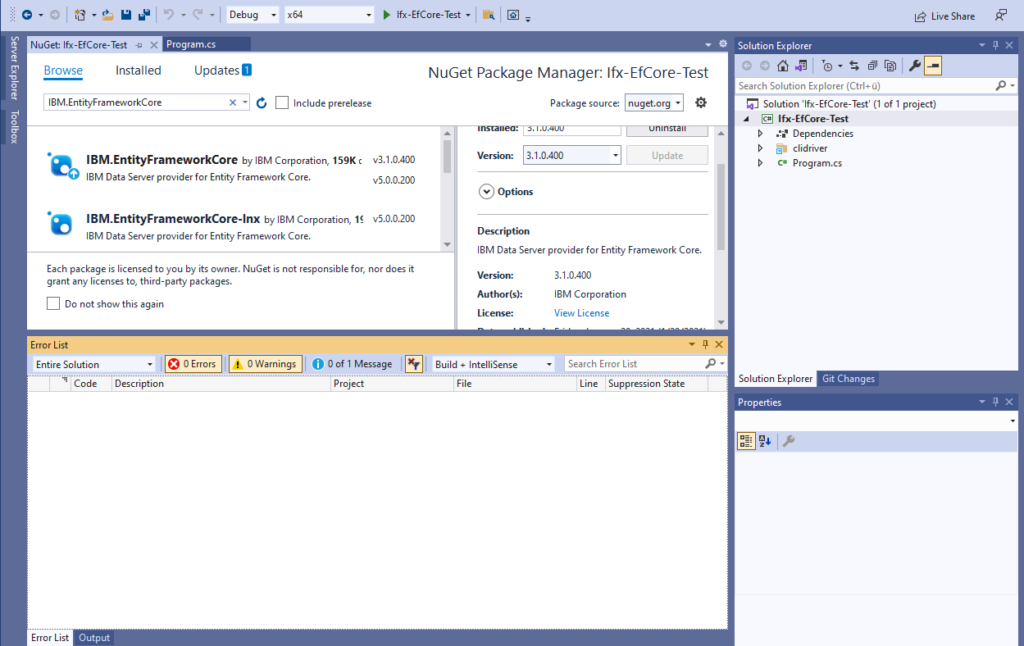
Now the warning should have disappeared, as shown below.
Run IBM Informix Developer Edition Docker Container
As my goal is to reverse engineer an existing Informix database, I obviously need an example database first. Fortunately, Informix comes with everything you need to create an example database named stores_demo, and I think the fastest and easiest way to get an Informix instance up and running is to just use docker.
If you are looking for a way to install Docker within VMware Workstation for example, my related post might come in handy.
So let’s just fire up an Informix container using the following command
docker run -it --name ifx -h ifx --privileged -e LICENSE=accept -p 9088:9088 -p 9089:9089 ibmcom/informix-developer-database:latest
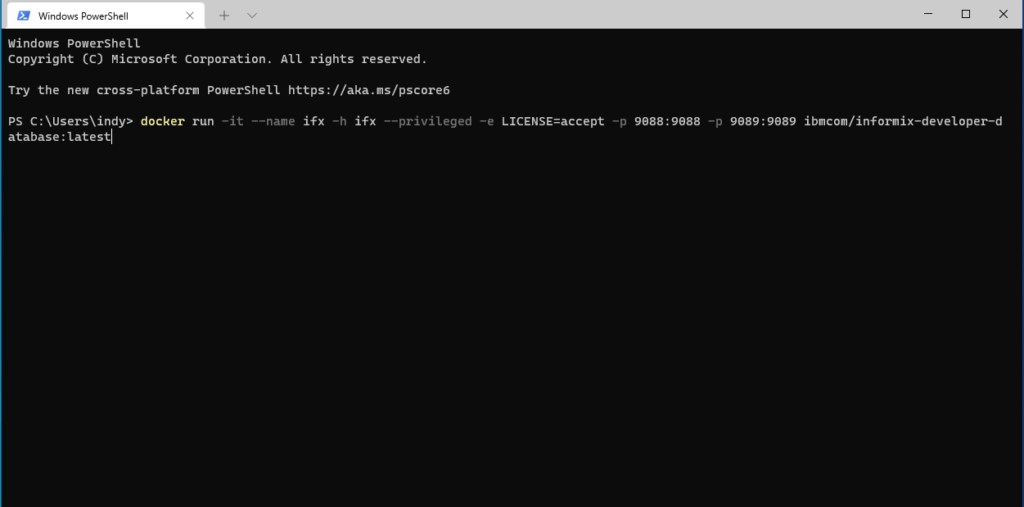
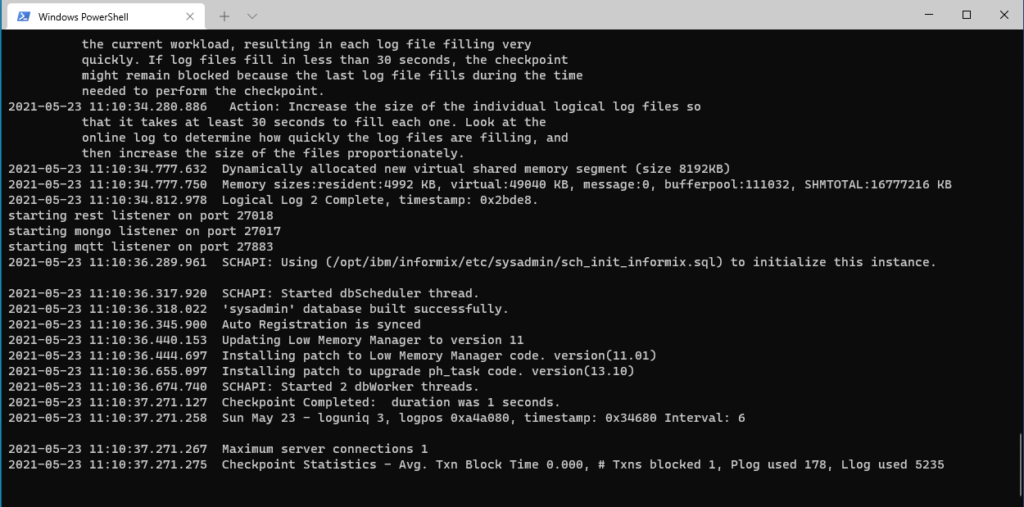
In case you are wondering, the default DRDA port is exposed to 9089, the default user is informix and the password for that user is in4mix. This obviously will become important later, once we need to specify the connections string for the database.
Create stores_demo database
Now, I can create a bash session within the container using
docker exec -it ifx bash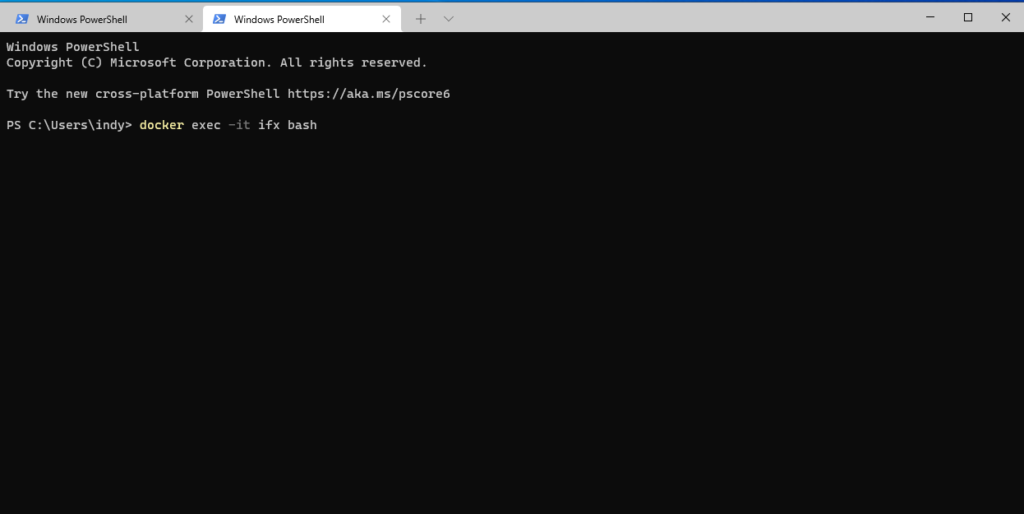
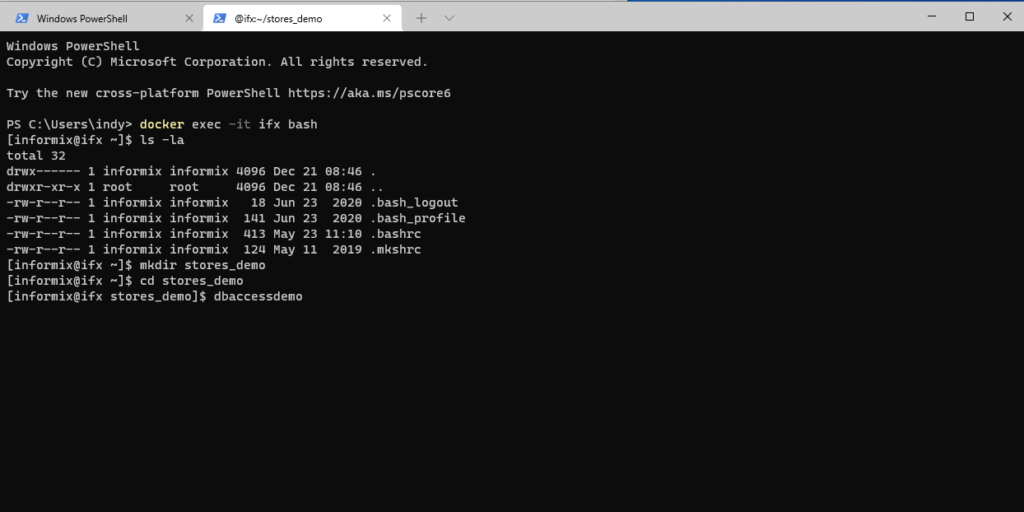
The bash shell opens with the informix user home directory set as the current working directory.
To save the SQL scripts that are used to create the store_demo database, I create a related sub-directory and change into it.

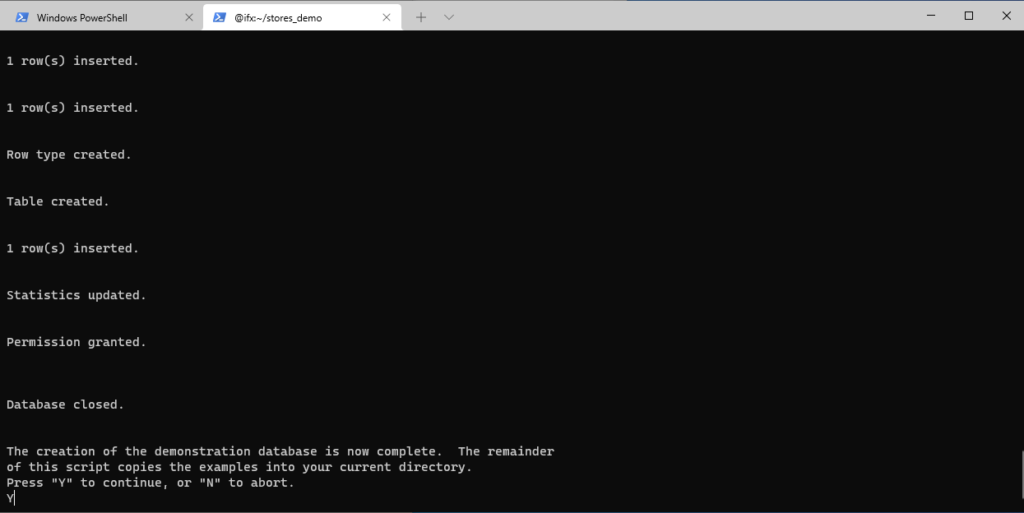
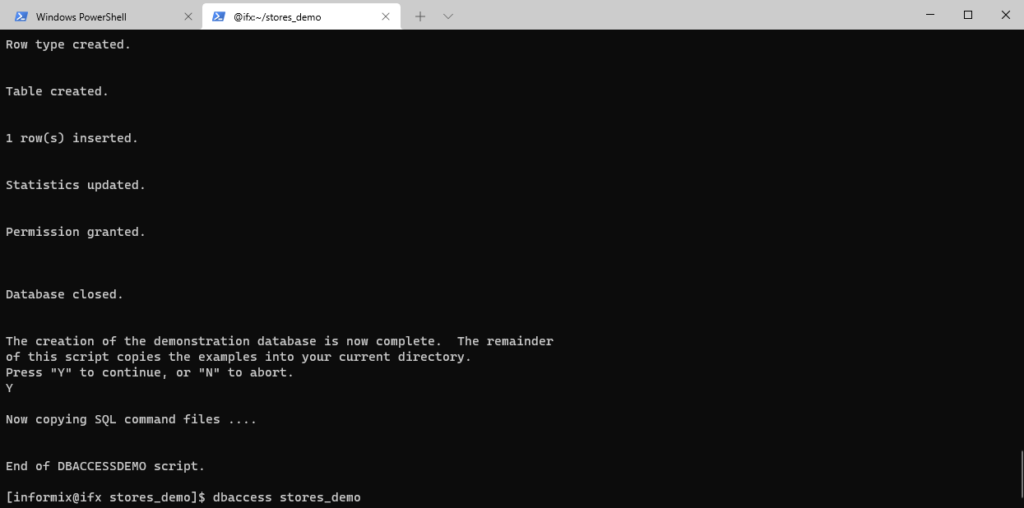
Informix comes with a command (dbaccessdemo) to create the demo database. So let’s just execute that.
It creates the demo database including tables, views, permissions etc. and, after it is done with the main work, allows you to save the related SQL-statements for further inspection, as well.

Use IBM Informix dbaccess to verify creation of demo DB
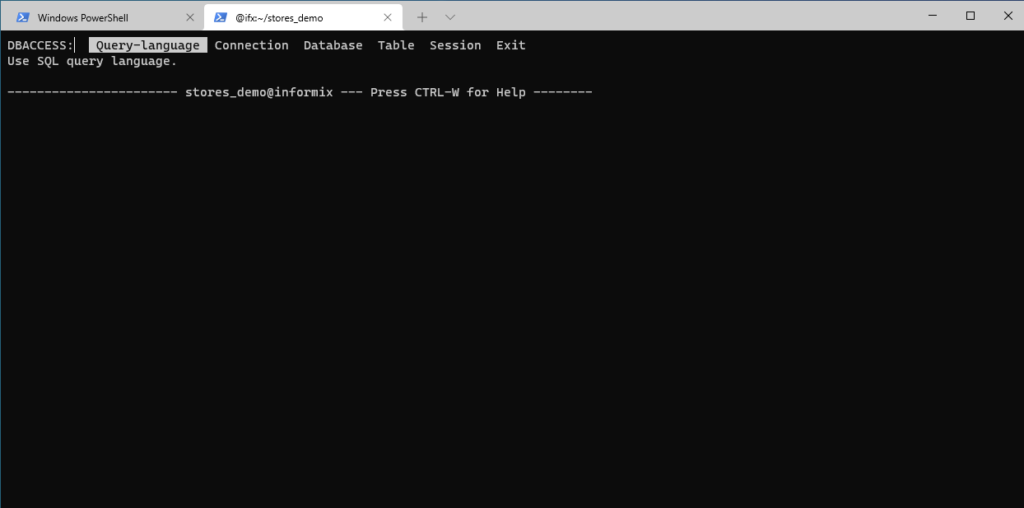
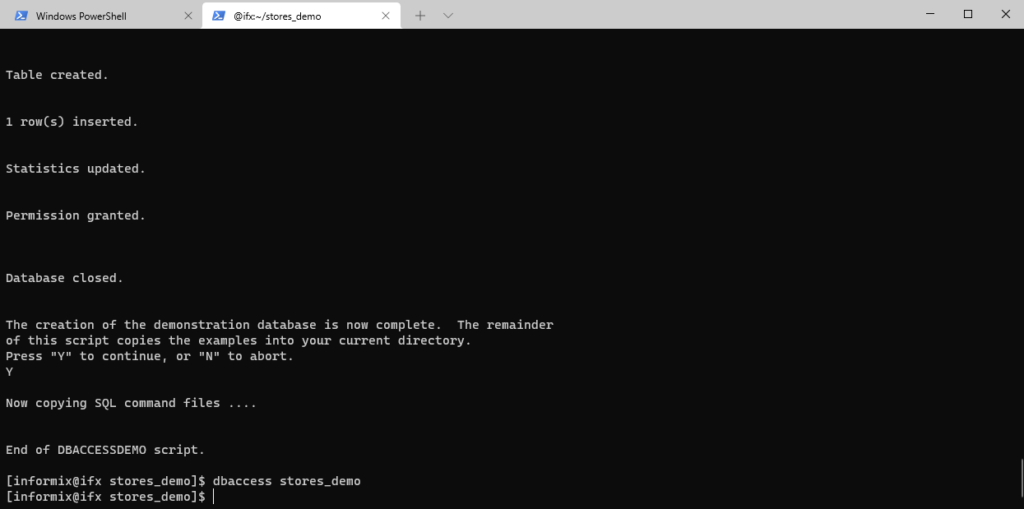
Time to confirm the creation of the stores_demo database using the included dbaccess command.
dbaccess stores_demo
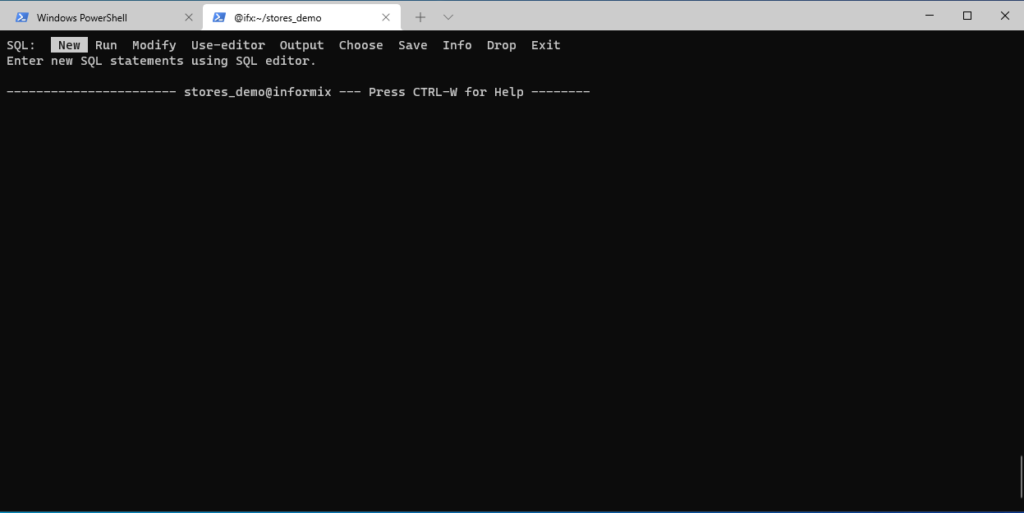
A simple query should do the trick, so let’s create a new one.
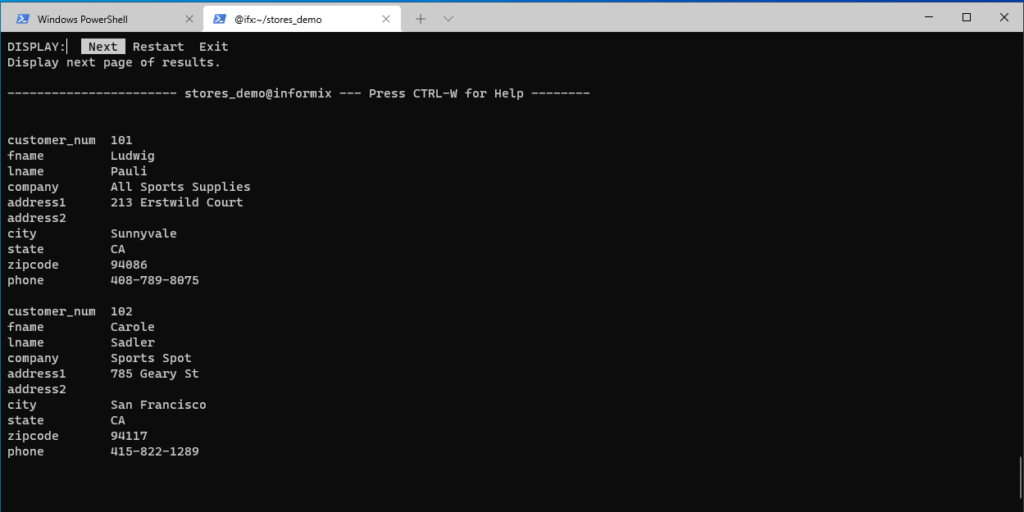
I just enter a statement to query all customers …
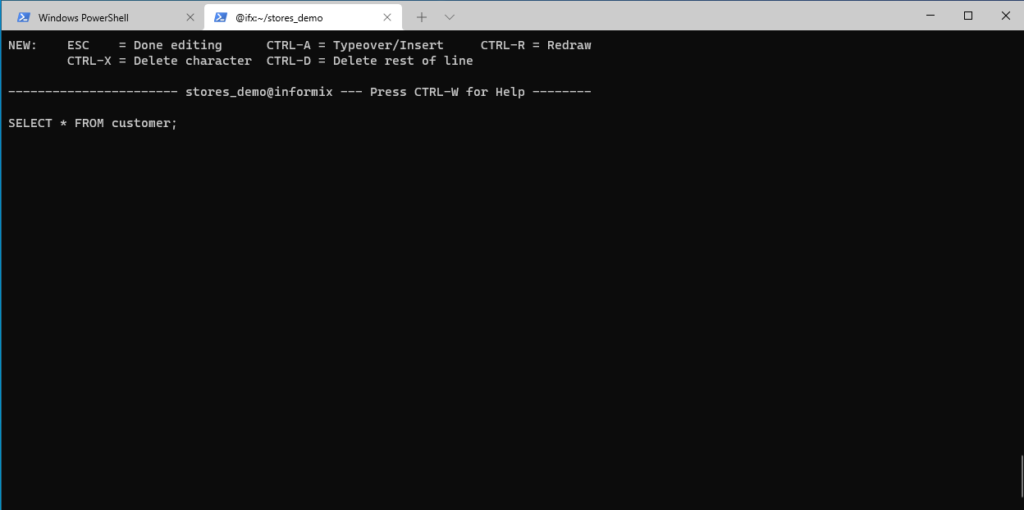
… and then just run it.

And here are the first two records.
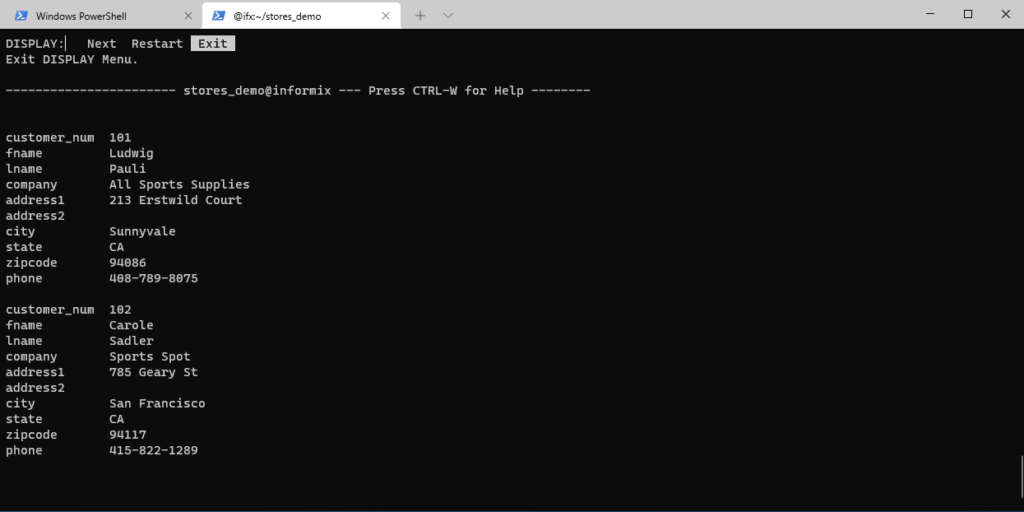
Looks like the demo database creation worked. To close the dbaccess tool, first exist the query display screen …
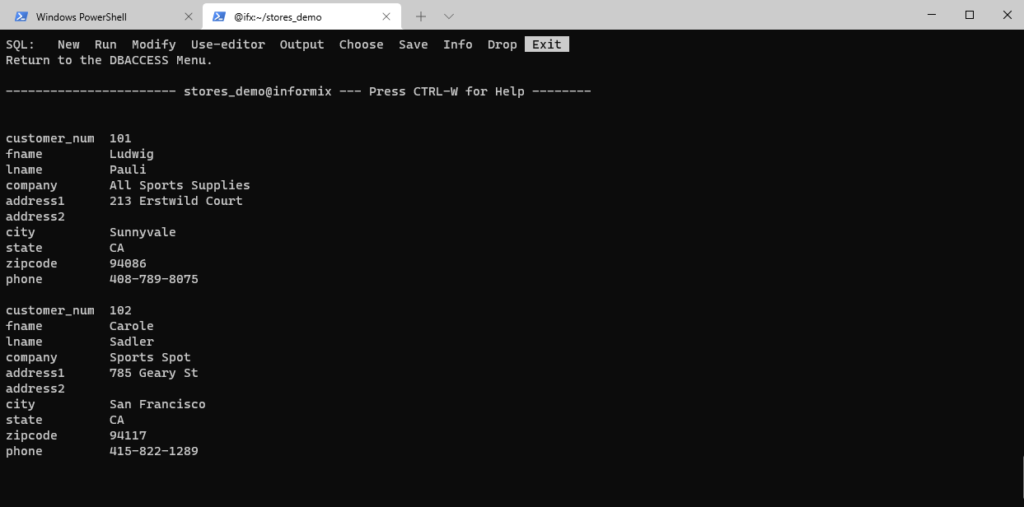
… then the SQL screen …
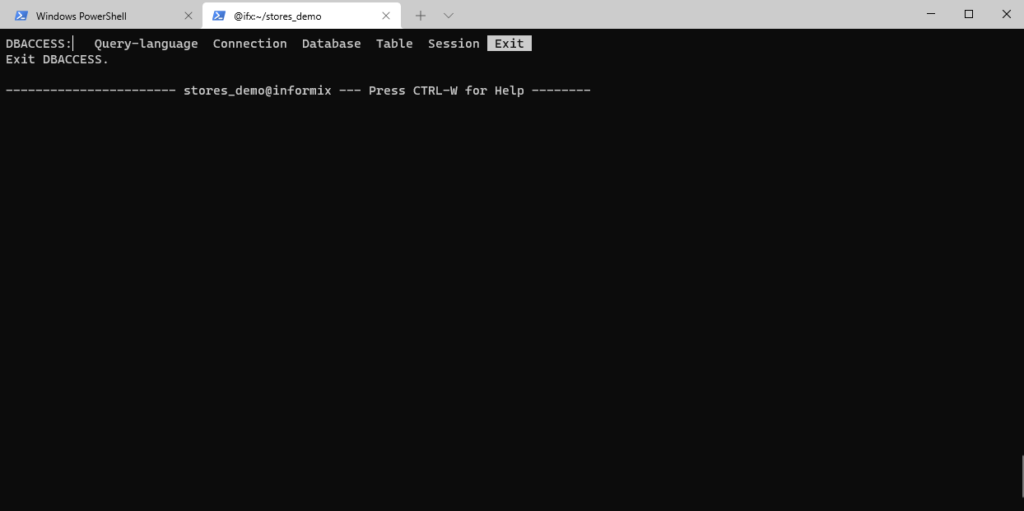
… and finally the main DBACCESS dialog.
Creating DbContext and Models (Scaffold-DbContext)
With having the stores_demo database in place, I now can prepare the project for reverse engineering.
First, I create a sub-directory name Models. This is where I want EntityFrameworkCore to create all related classes under.
More details about reverse engineering a database using EntitFrameworkCore can be found here: https://docs.microsoft.com/en-us/ef/core/managing-schemas/scaffolding?tabs=vs
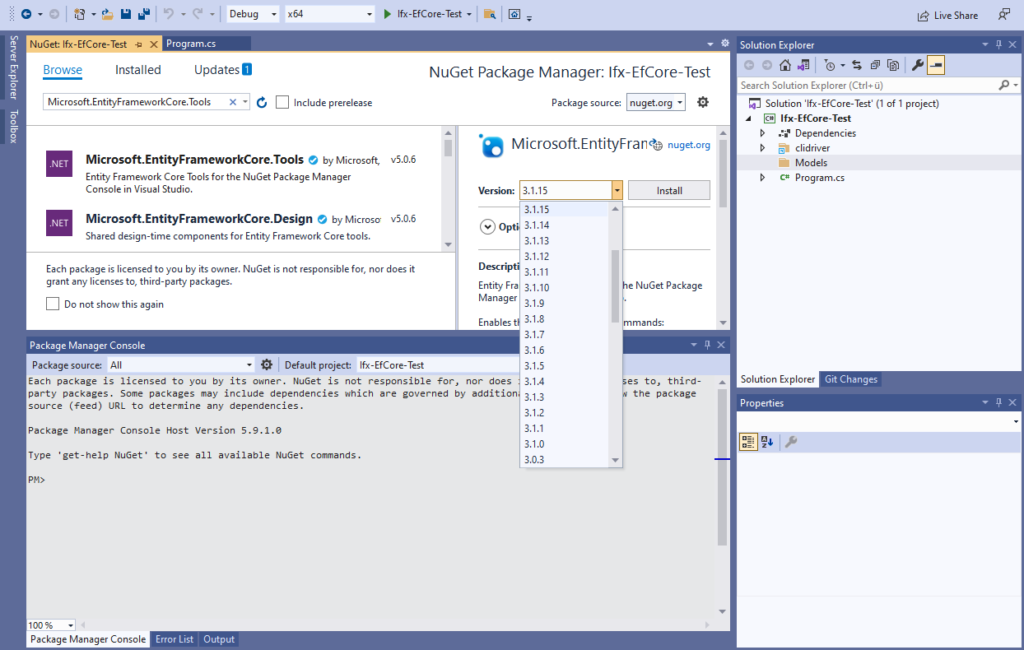
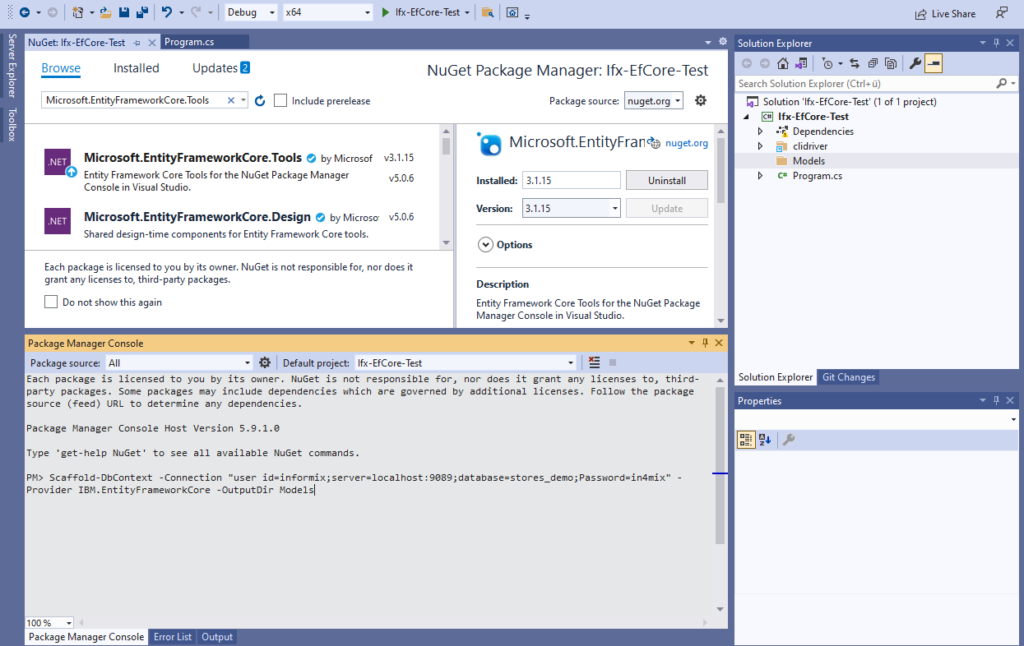
Before I can run the command to create the models and DbContext, I need to install an additional NuGet package, however.
This package is called Microsoft.EntityFrameworkCore.Tools …
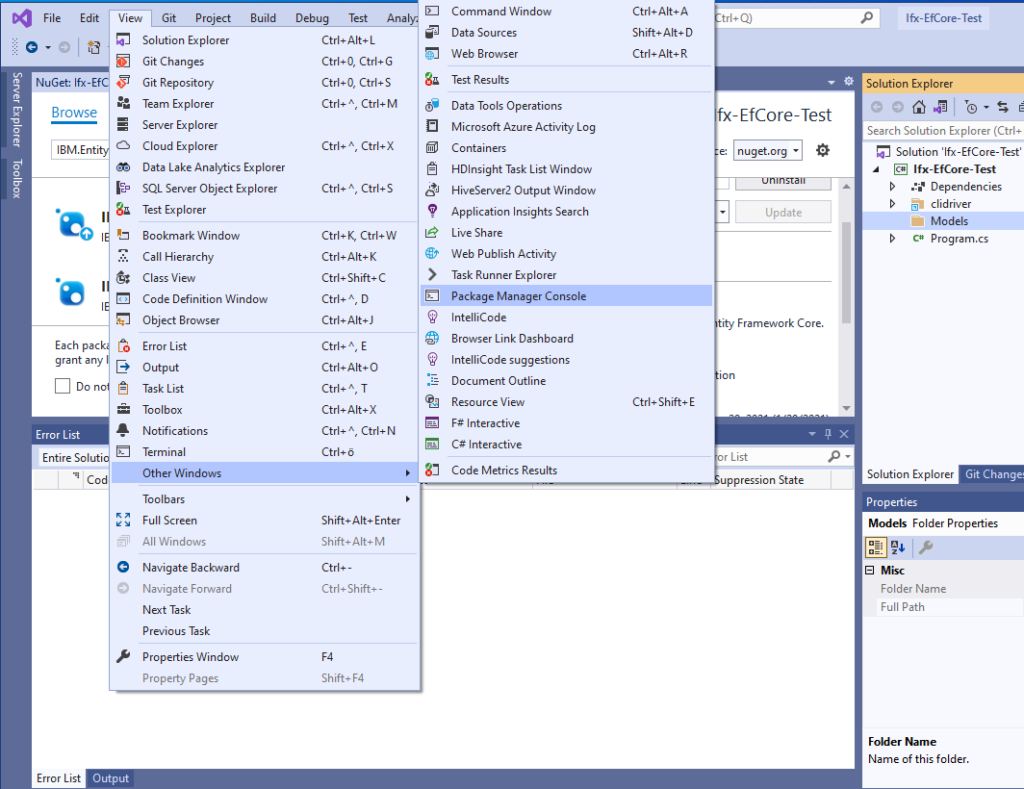
… and after installing, we can finally run the Scaffold-DbContext command in the Package Manager Console to kick off the reverse engineering process.
Scaffold-DbContext -Connection "user id=informix;server=localhost:9089;database=stores_demo;Password=in4mix" -Provider IBM.EntityFrameworkCore -OutputDir Models
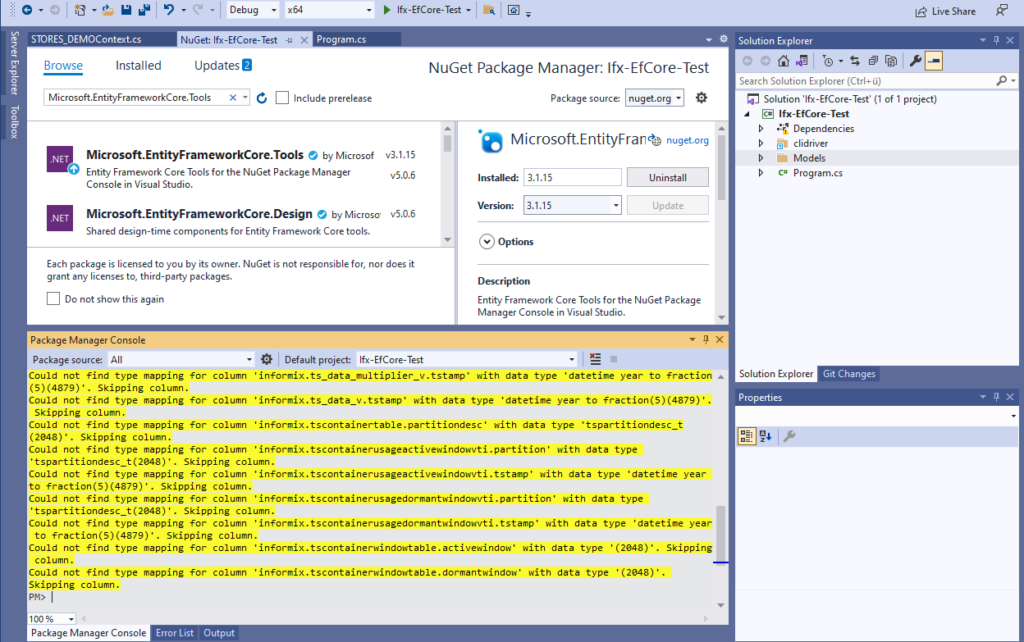
After the scaffolding process has started, we’ll also get some progress information in the Package Manager Console …
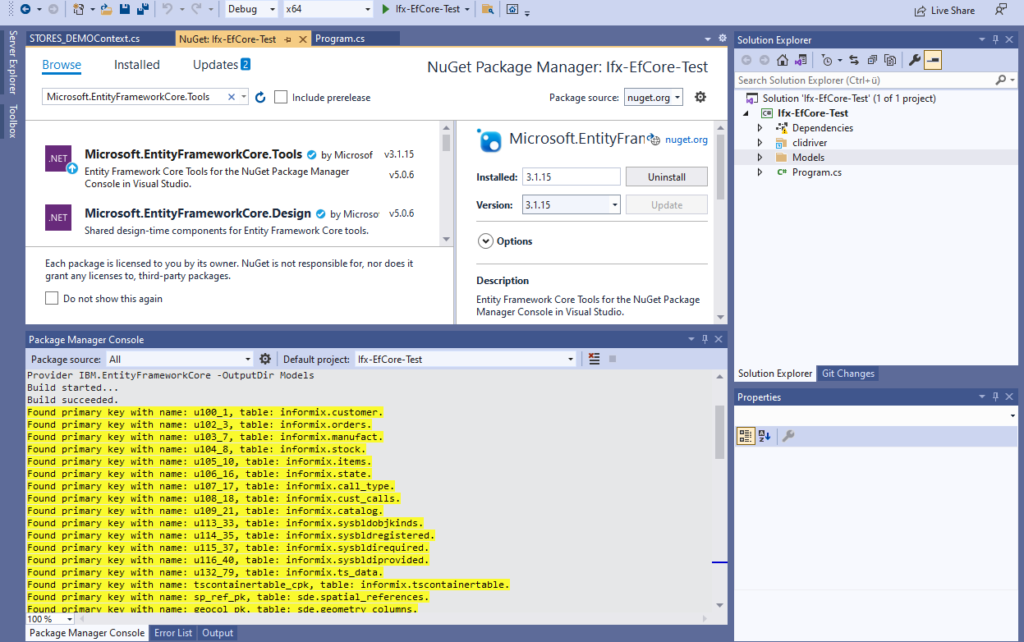
… including details about some columns that could not be mapped to a .NET datatype as the related column type is not supported by the IBM Data Server provider.
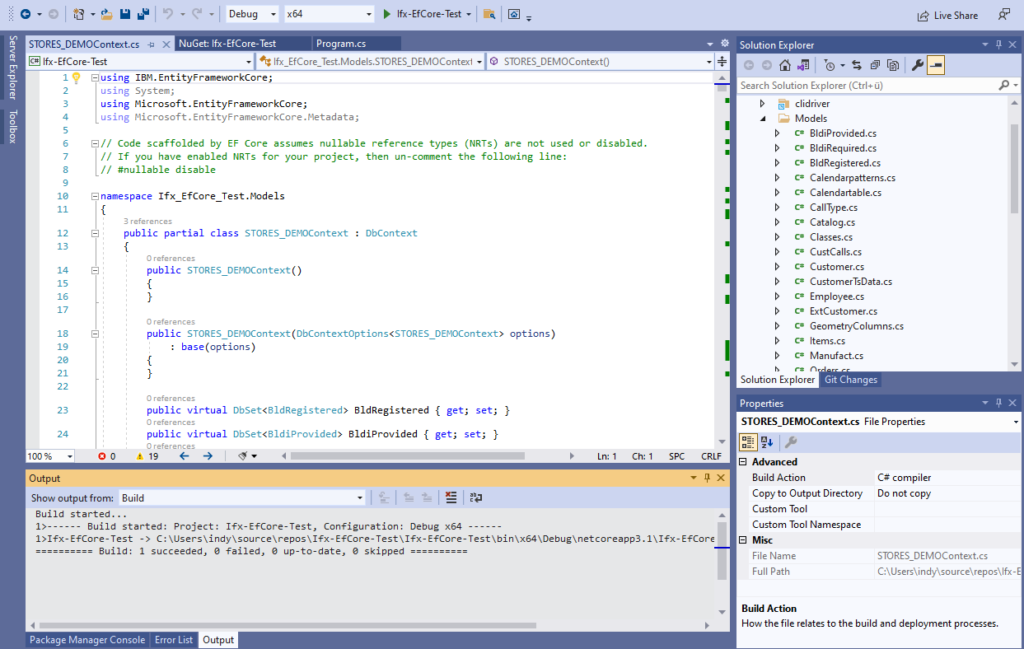
Once completed, the different model classes along with the DBContext class should be available.
Testing basic functionality using NUnit
While the main work is now done, let’s confirm that things are actually working as expected by implementing a quick smoke test.
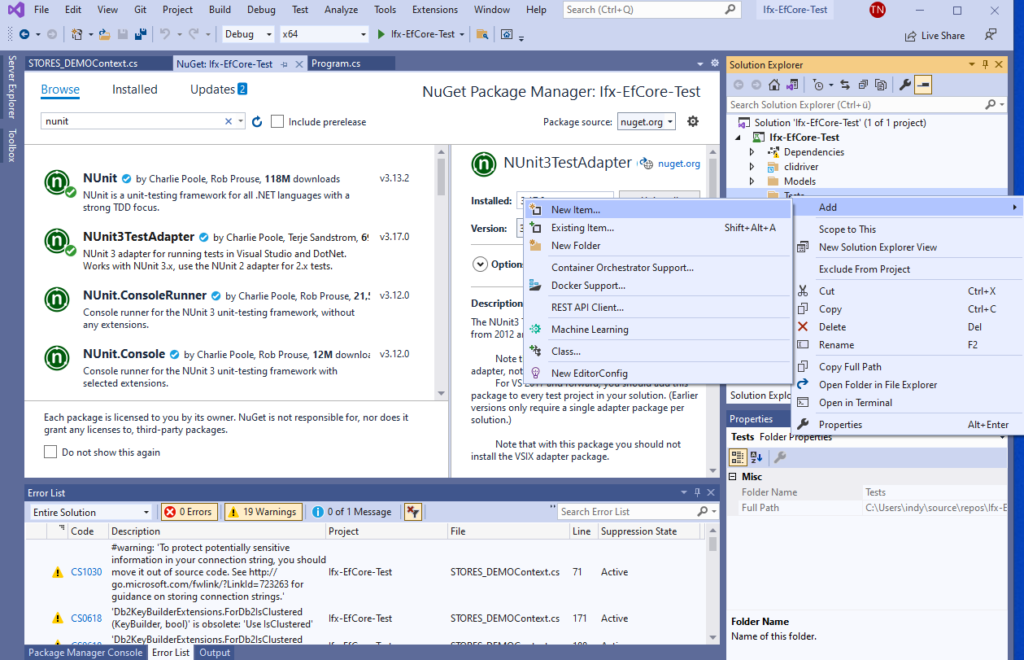
First of all, I create a new directory, which I’ll use for my test classes.

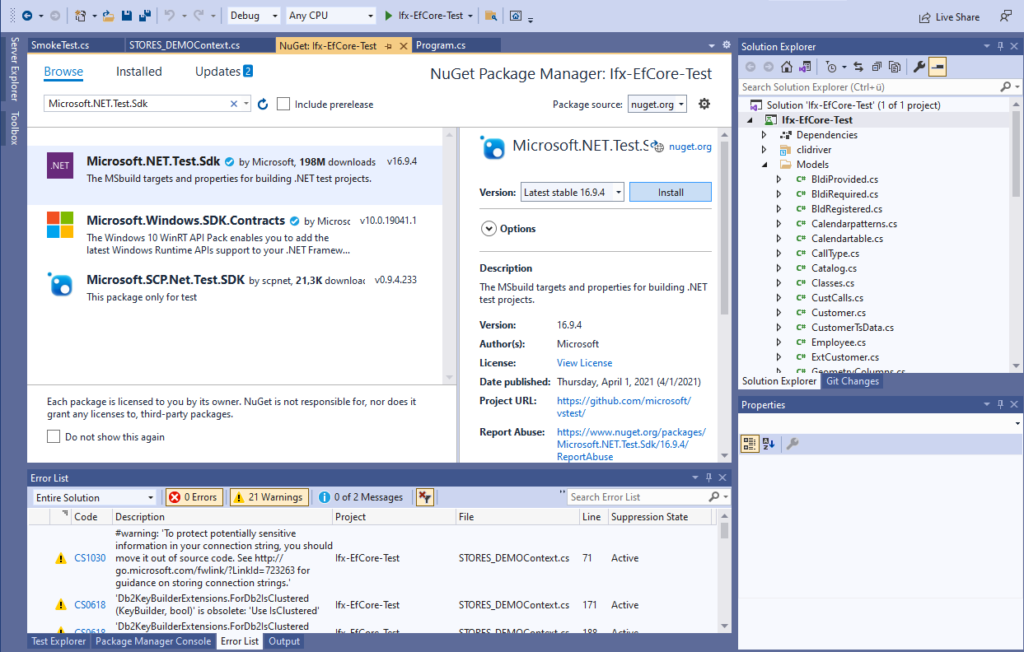
Next, let’s use NUnit as a testing framework and install the related NuGet packages …
… along with its test adapter for Visual Studio …
… and Microsoft’s Test SDK.
Writing a first test
Having the testing prerequisites in place now, let’s write our first test.
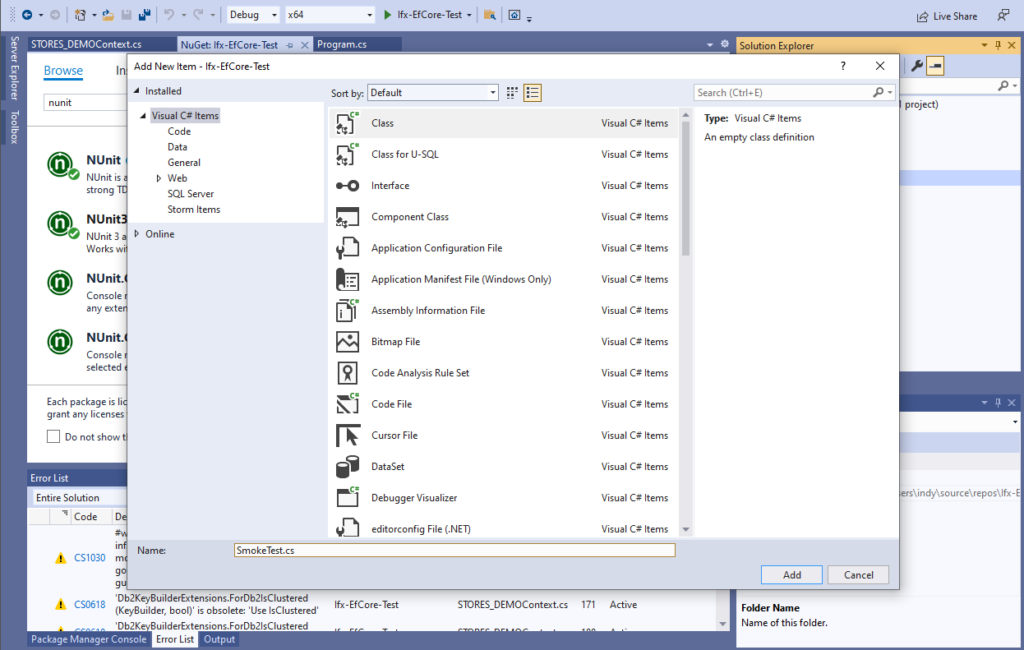
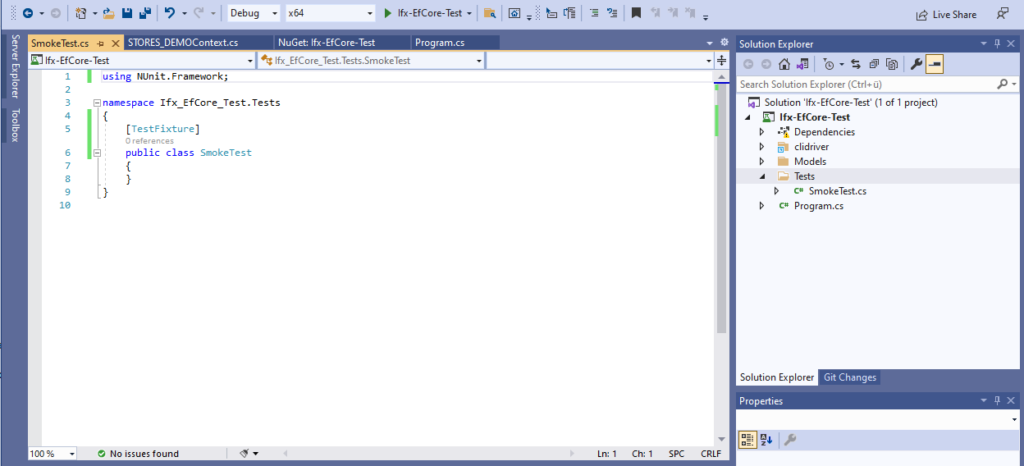
For that, I add a new class to the project named “SmokeTest.cs”
I then make the NUnit framework available via
using Nunit.Framework;
And I also add the [TextFixture] attribute to my test class.
Time to create the test method, which should connect to the database and check if there are any records in the customer table.
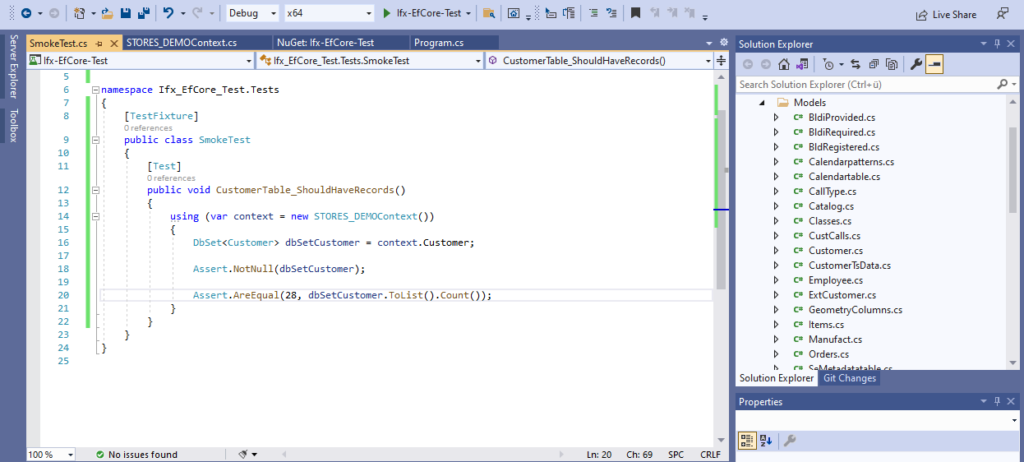
Here’s the full code of that test method.
    [Test]
    public void CustomerTable_ShouldHaveRecords()
    {
        using (var context = new STORES_DEMOContext())
        {
            DbSet<Customer> dbSetCustomer = context.Customer;

            Assert.NotNull(dbSetCustomer);

            Assert.AreEqual(28, dbSetCustomer.ToList().Count());
        }
    }
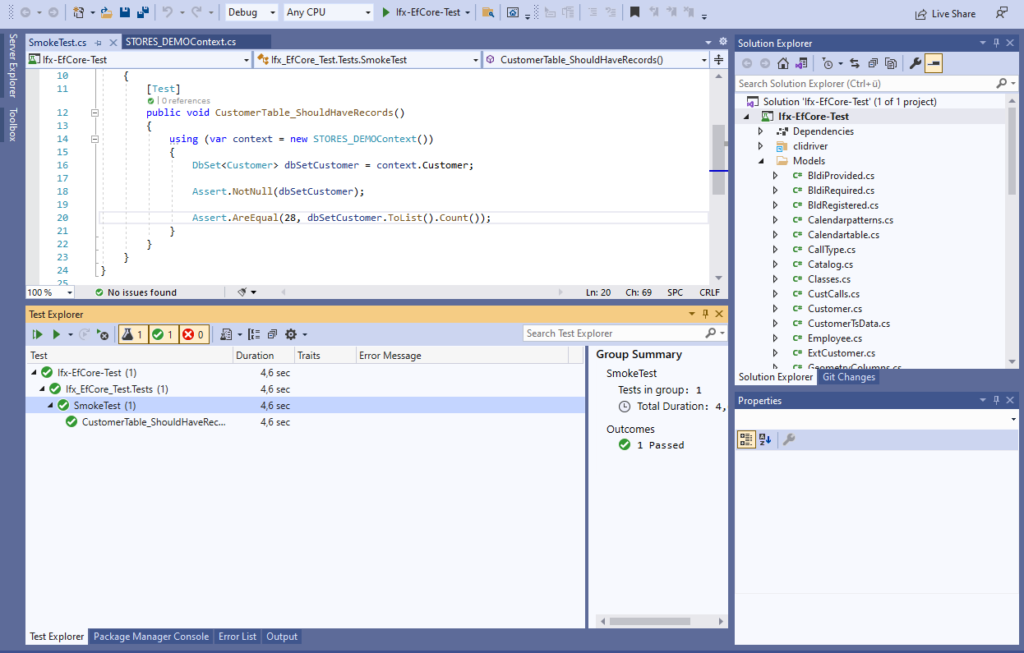
Using the Test Explorer to run the test
Almost there! Time to see if we can debug the test using the Test Explorer in Visual Studio.

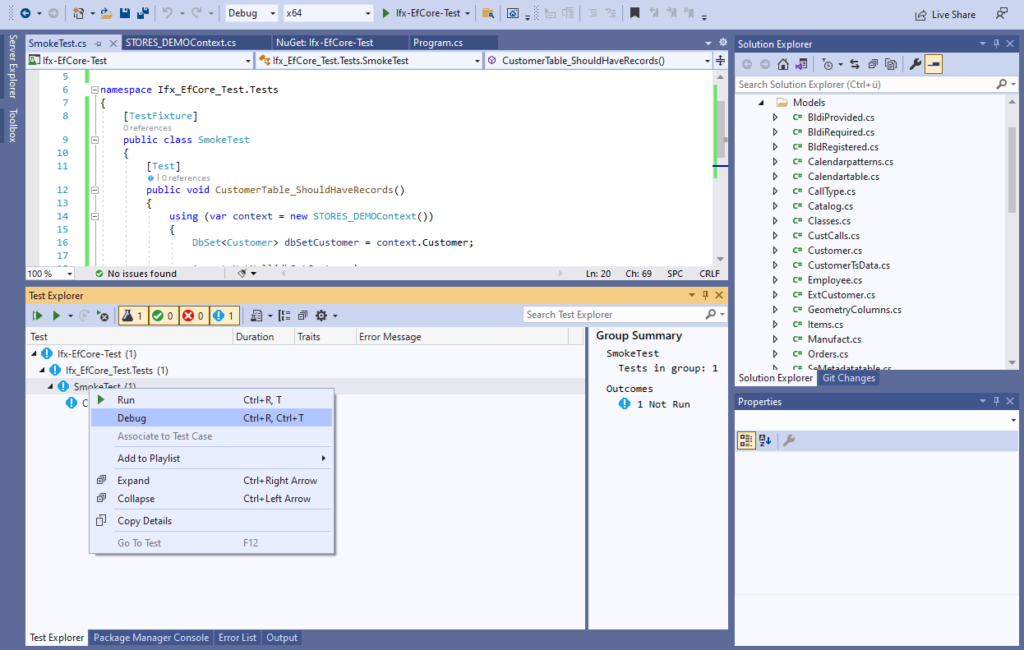
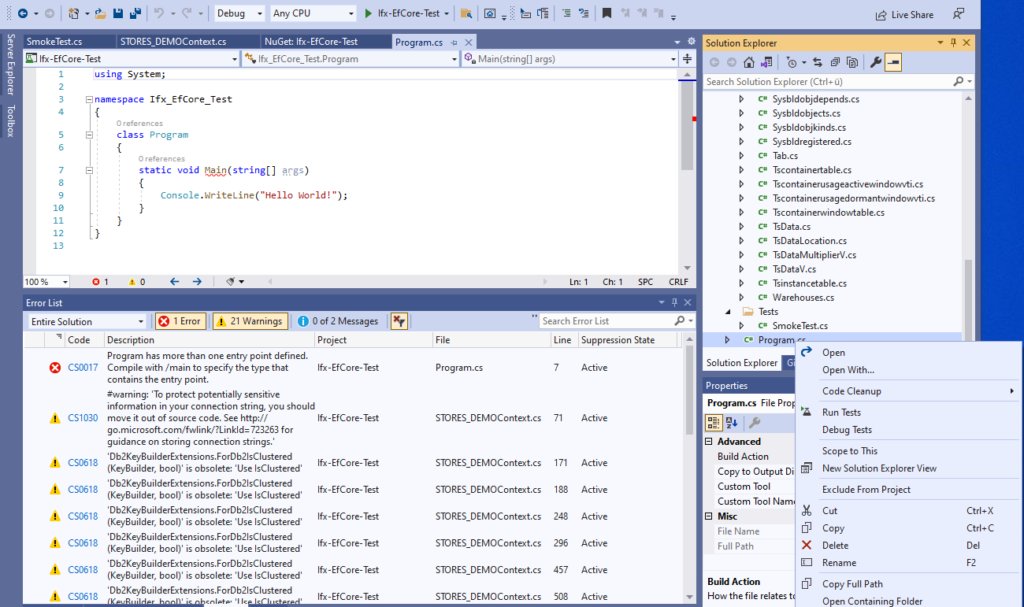
As show below, I actually get an error, that cannot have more than one entry point.
Usually I would create a separate Test Project within the Solution for all the different tests. For this quick smoke test however, the easiest way to make the test work, is just to remove Program.cs.
And now the test runs successfully.
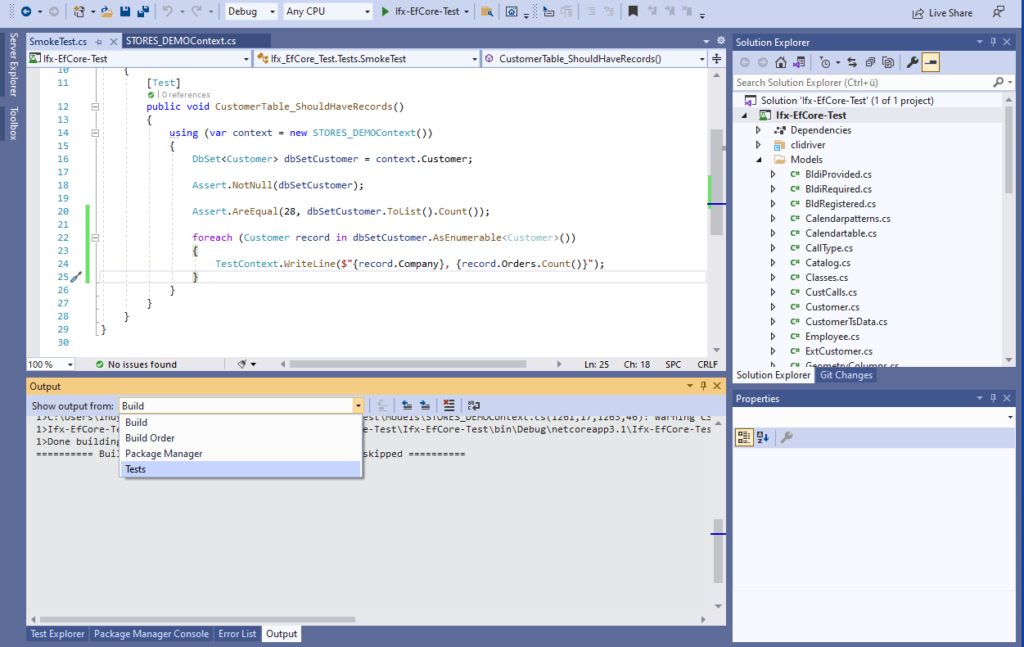
Write additional information to Output window during test
Sometimes it is useful to add some additional information to the test output. In NUnit this can be done via the TestContext as shown below.

Here’s the extended code:
    [Test]
    public void CustomerTable_ShouldHaveRecords()
    {
        using (var context = new STORES_DEMOContext())
        {
            DbSet<Customer> dbSetCustomer = context.Customer;

            Assert.NotNull(dbSetCustomer);

            Assert.AreEqual(28, dbSetCustomer.ToList().Count());

            foreach (Customer record in dbSetCustomer.AsEnumerable<Customer>())
            {
                TestContext.WriteLine($"{record.Company}, {record.Orders.Count()}");
            }
        }
    }
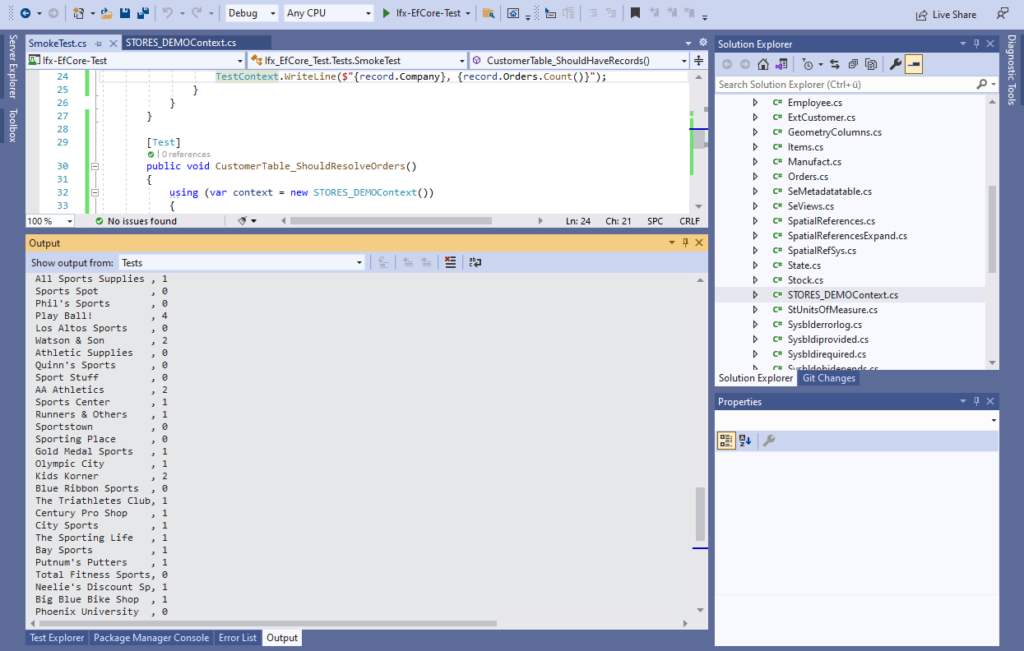
After executing the test again, the details are now available in the Output window.
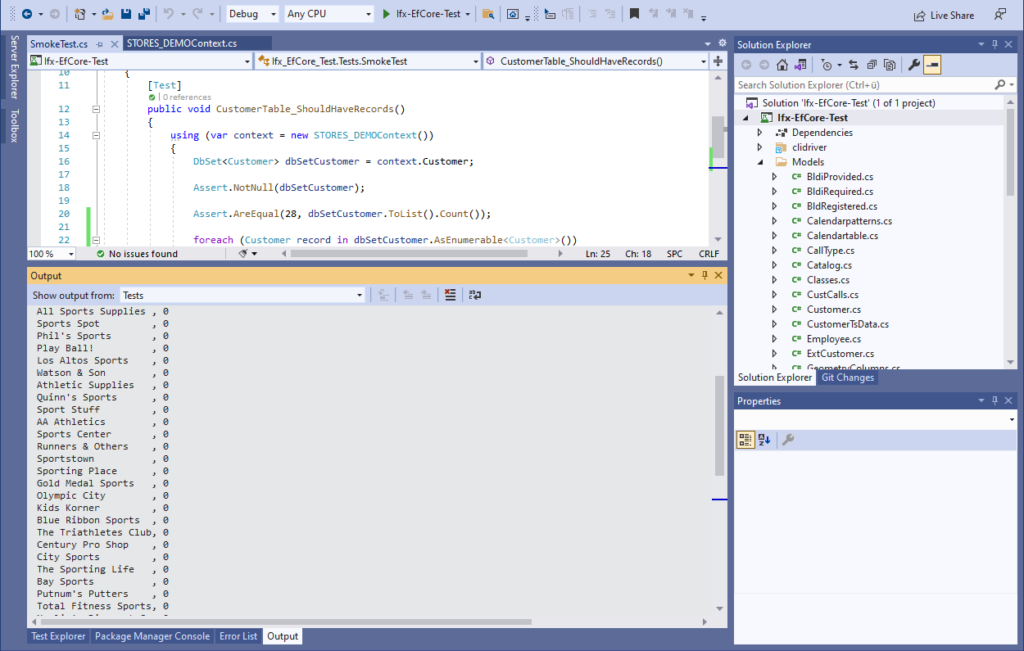
Include referenced table data
Looking at the output above, you’ll probably notice that EntityFrameworkCore does not resolve any referenced table data (in this case the number of order per customer) by default.
To make this possible, you have to include the related table as shown in the additional test method below.
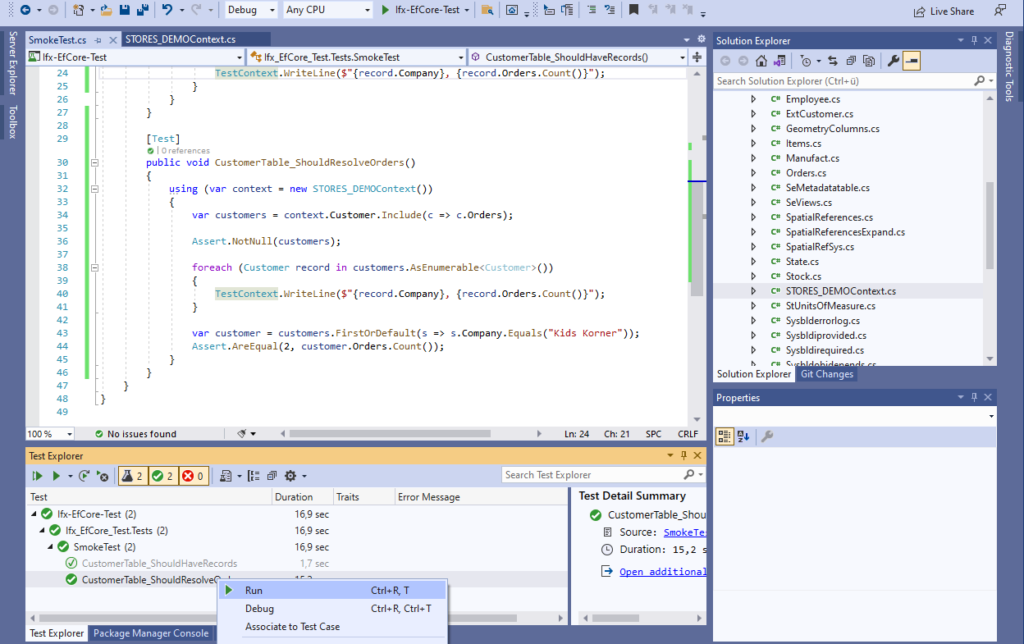
        [Test]
        public void CustomerTable_ShouldResolveOrders()
        {
            using (var context = new STORES_DEMOContext())
            {
                var customers = context.Customer.Include(c => c.Orders);

                Assert.NotNull(customers);

                foreach (Customer record in customers.AsEnumerable<Customer>())
                {
                    TestContext.WriteLine($"{record.Company}, {record.Orders.Count()}");
                }

                var customer = customers.FirstOrDefault(s => s.Company.Equals("Kids Korner"));
                Assert.AreEqual(2, customer.Orders.Count());
            }
        }
With the “Include” in place, the orders per customer can now be resolved.
This concludes the step-by-step guide on how to use IBM Informix and EntityFrameworkCore together to reverse-engineer an existing database. Hope you found it useful.
Happy coding and all the best!