

To make it easier to get started with some of my htm.core experiments or with htm.core in general, I thought it would make sense to provide a docker image with htm.core preinstalled. So here it is:
Please welcome the htm.core-jupyter image.
This image is using the scipy-notebook as foundation, with the htm.core package installed on top of it.
For a list of the other preinstalled python packages, just look here.
There are also a lot of other Jupyter docker images available. I recommend starting with the Jupyter Docker Stacks quick start page for a more detailed overview of its general use.
Starting htm.core-jupyter
Creating and running a container from the image is straight forward. Just execute the following command to start up a container named jupyter:
docker run -d -p 8888:8888 --name jupyter 3rdman/htm.core-jupyter:latest
As you might have guessed from the port mapping above, you can now open your browser and connect to the Jupyter Notebook via the loopback address and port 8888.
http://127.0.0.1:8888
If you do this for the first time, you’ll get redirected to the login page. It will look similar to the screenshot below and requires you to enter a password or token.

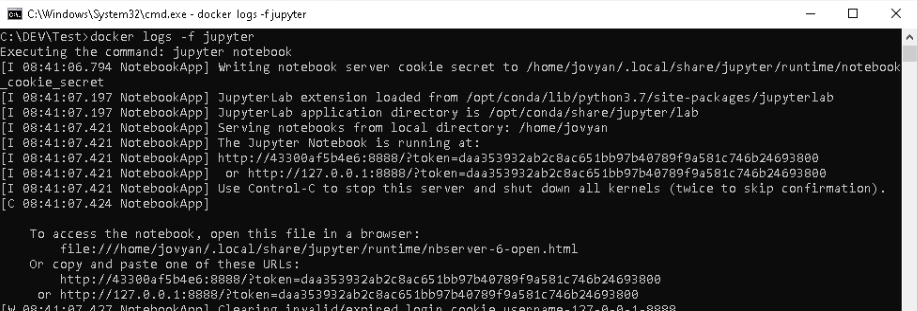
As mentioned in the screenshot, we need to connect to the notebook server with the login token in the URL. The easiest way to get that, is to inspect the jupyter container log.
docker logs -f jupyter
Now you can just copy the URL that starts with http://127.0.0.1:8888/?token and copy it into your web browser.
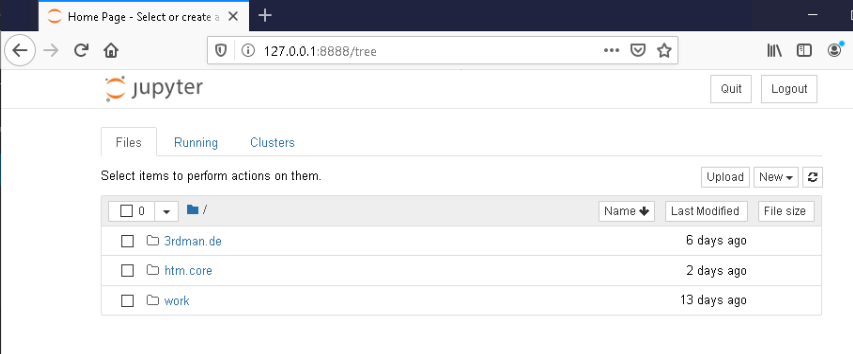
After using the Token-URL, you are redirected to the main page, which lists the three top-level directories that come with image.
- 3rdman.de contains the code to follow along with the tutorial series
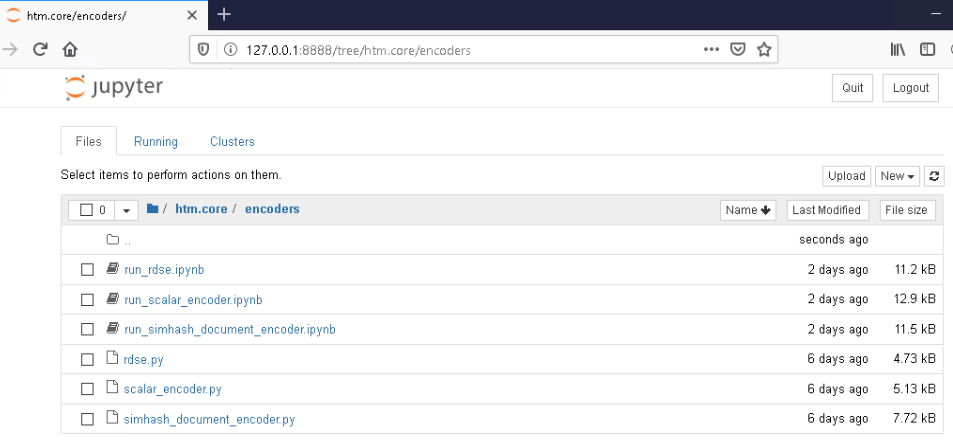
- htm.core contains most of the python examples that ship with htm.core
- work, for your own experiments
Since the code in the 3rdman.de directory is explained in the related blog posts already, I will just focus on explaining how to run the included htm.core examples.
The htm.core python examples
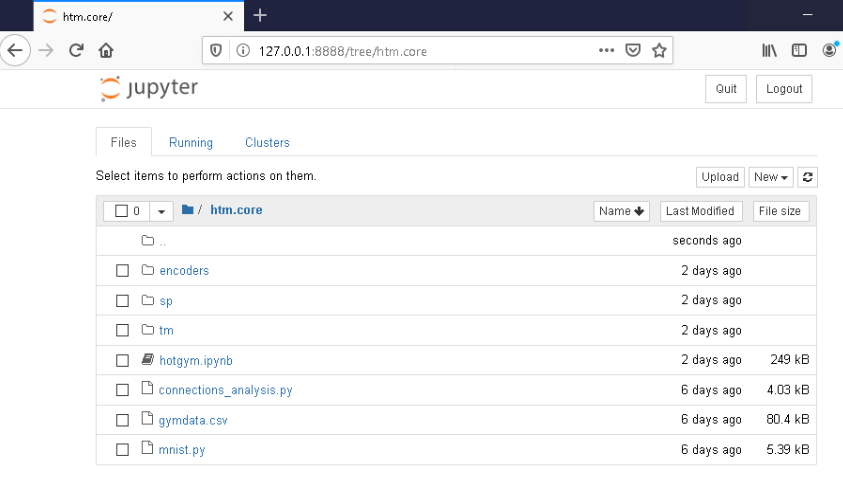
Looking at the files within the htm.core directory, you will notice that some of them end with the .ipynb extension. These are the actual notebook files that we can open and run.
There are other files, like the python code (.py) or CSV files, which won’t be directly executed, but are referenced by code in a notebook instead.
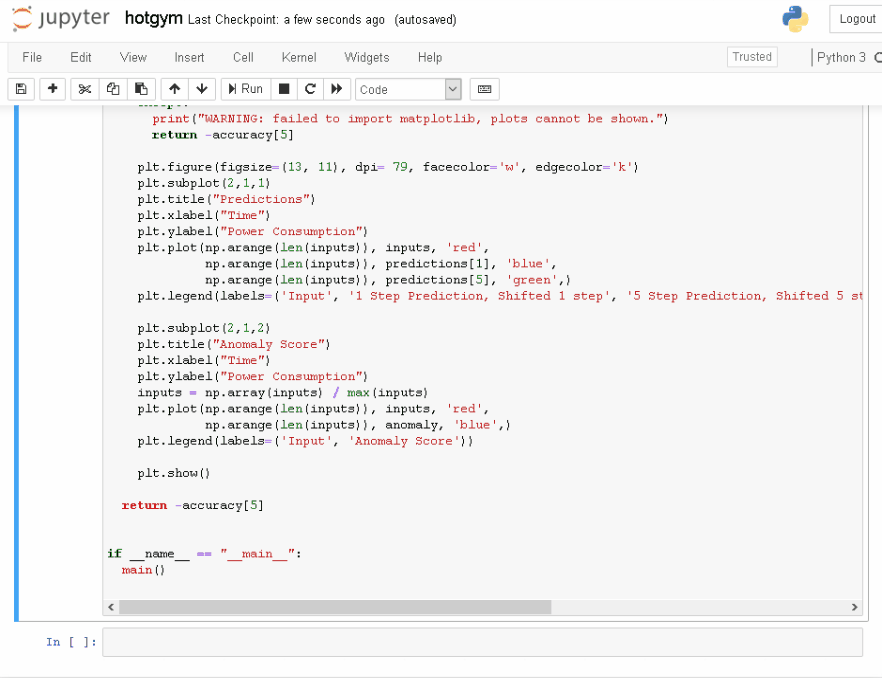
Hotgym
So let’s open hotgym.ipynb, for example.
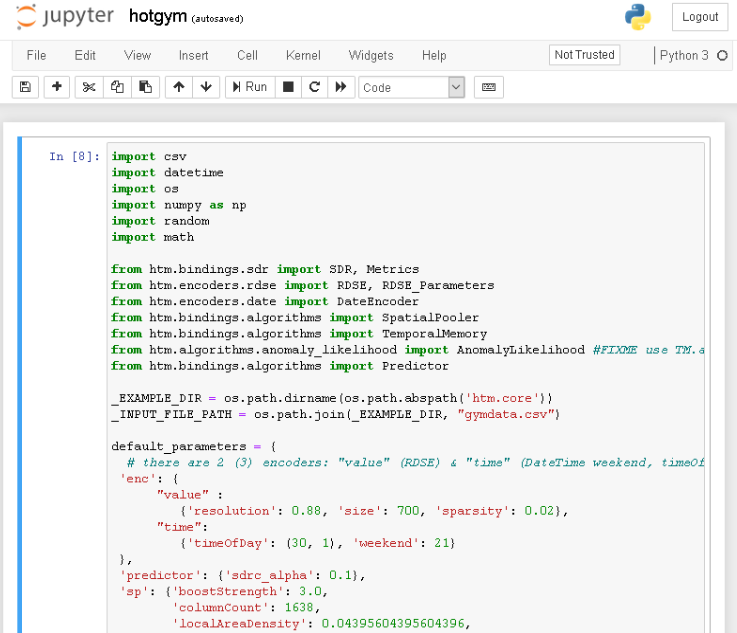
To execute it, just press the run button at the top and watch the output.
Running the Encoders
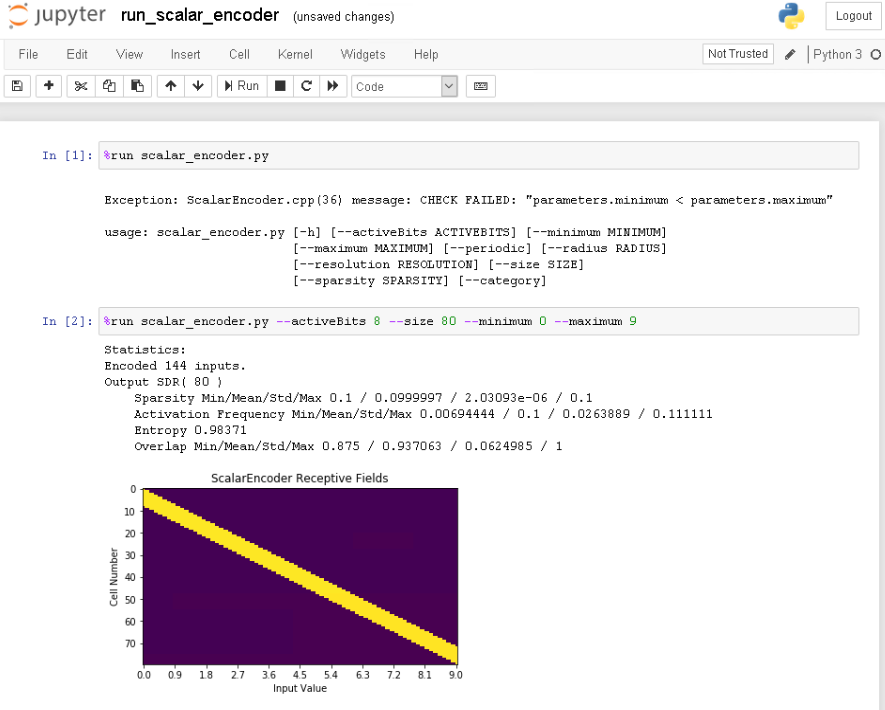
Now let’s briefly explore the examples in the encoders directory and open run_scalar_encoder.ipynb
Because the htm.core encoder examples allow you to test them out by specifying your own command line arguments, the notebooks just contain an example of how you can run the actual python encoder from within them. Skipping any arguments should provide a hint about the available parameters.
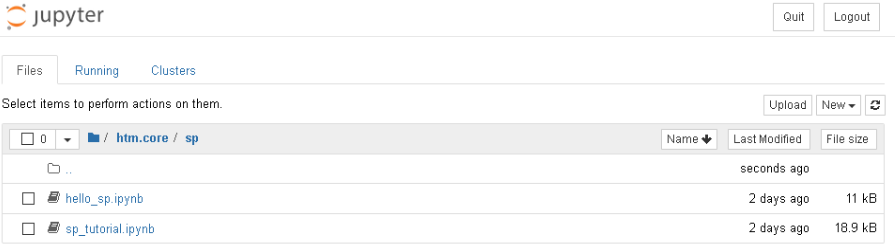
SP and TM examples
As you will discover, some examples in the sp and tm folder do not only show the output, but additionally create images that are saved to a file.
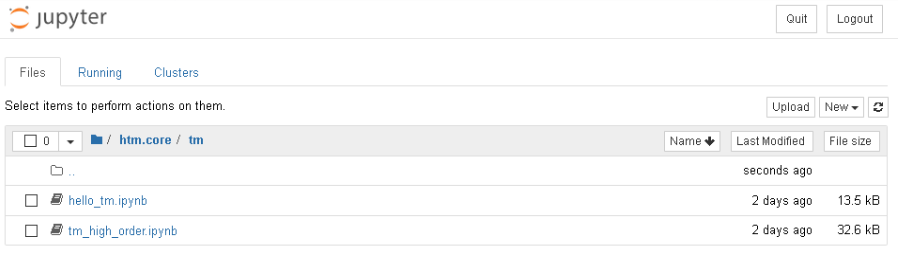
tm_high_order is such an example.
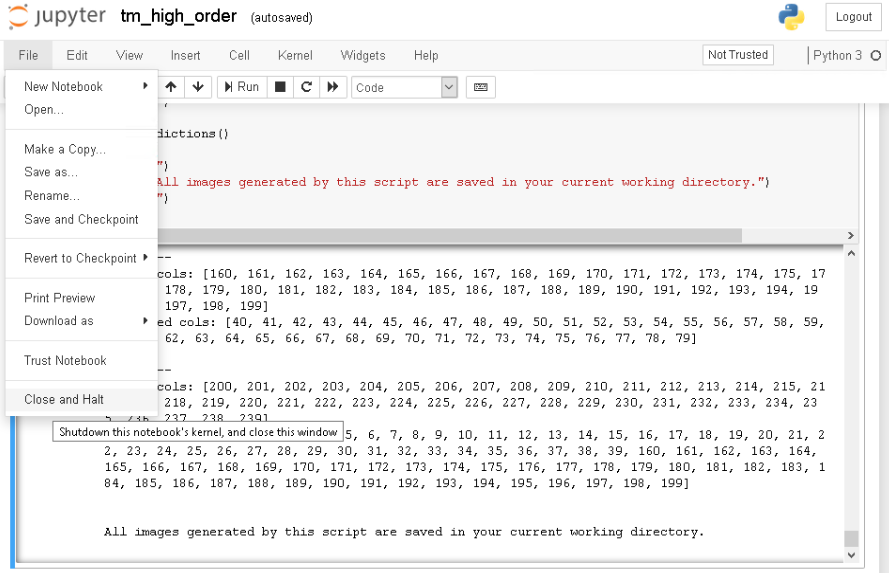
In that case, just use “Close and Halt” after the code executed.
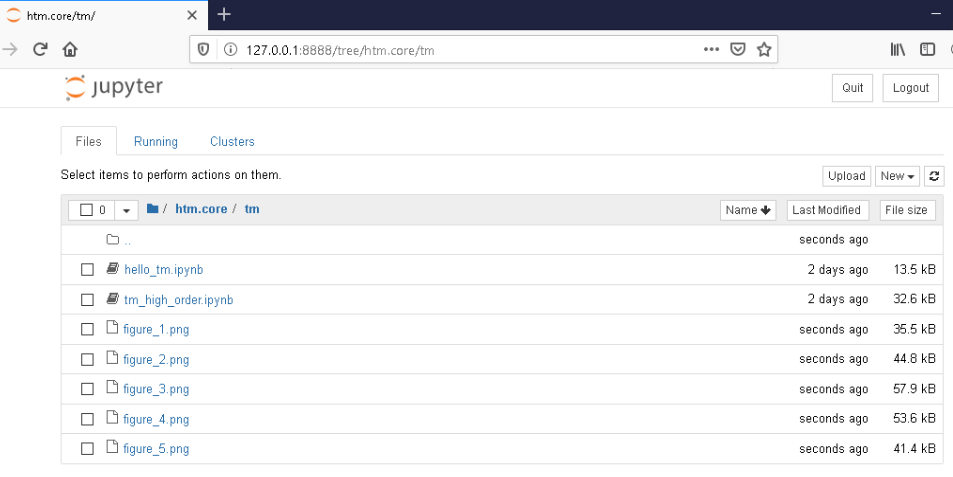
That should reload the directory content and reveal the generated images.
That’s it for now.
Thanks a lot for reading and have fun playing around with htm.core!